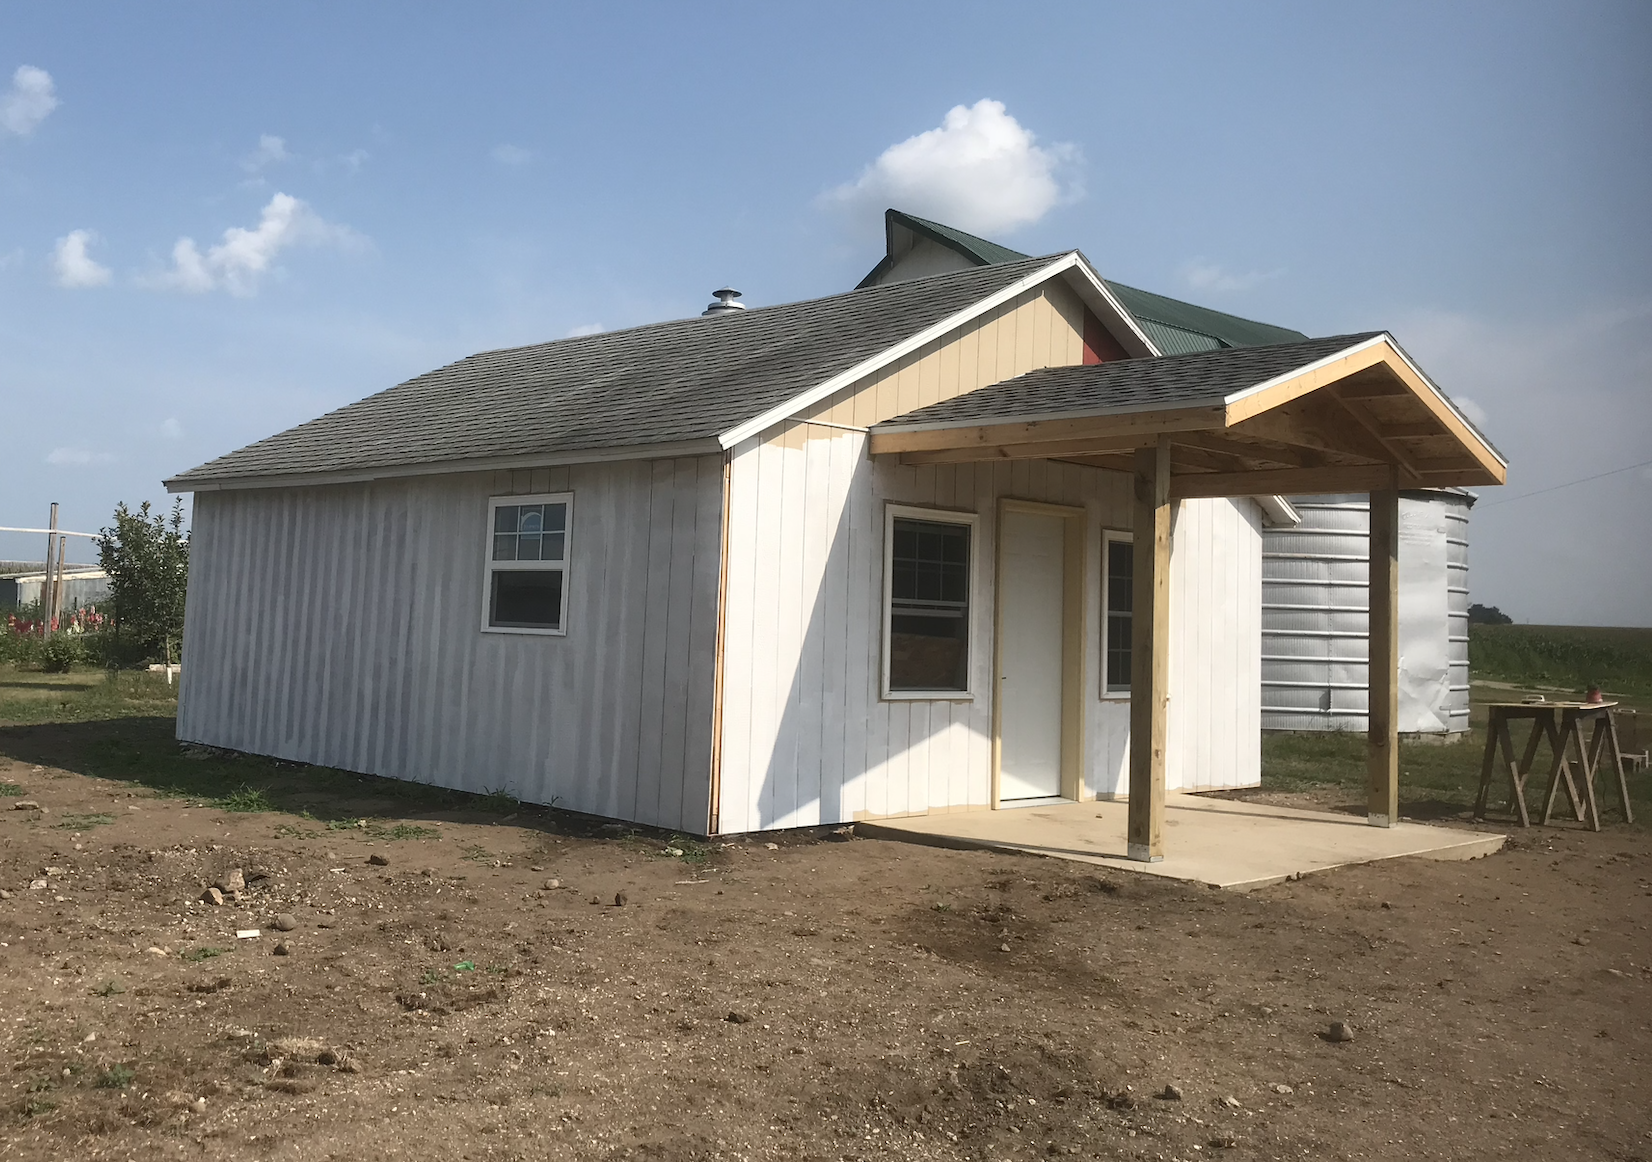
When Flannery and I decided to renovate our barn for hosting workshops and events, we quickly realized we would need a climate controlled space for a public restroom. After talking to a few contractors we decided it was best to install the septic tank and leach field in the NE corner of the property and convert our 20x24’ 1950s garage into a multi-functional space. The garage had been serving as a space to house our two best vehicles. Yet, the space was too small and it was always a challenge o get the vehicles in and out safely. We opted to clean out an already existing machine shed that could serve as a new or temporary garage while the original was renovated.
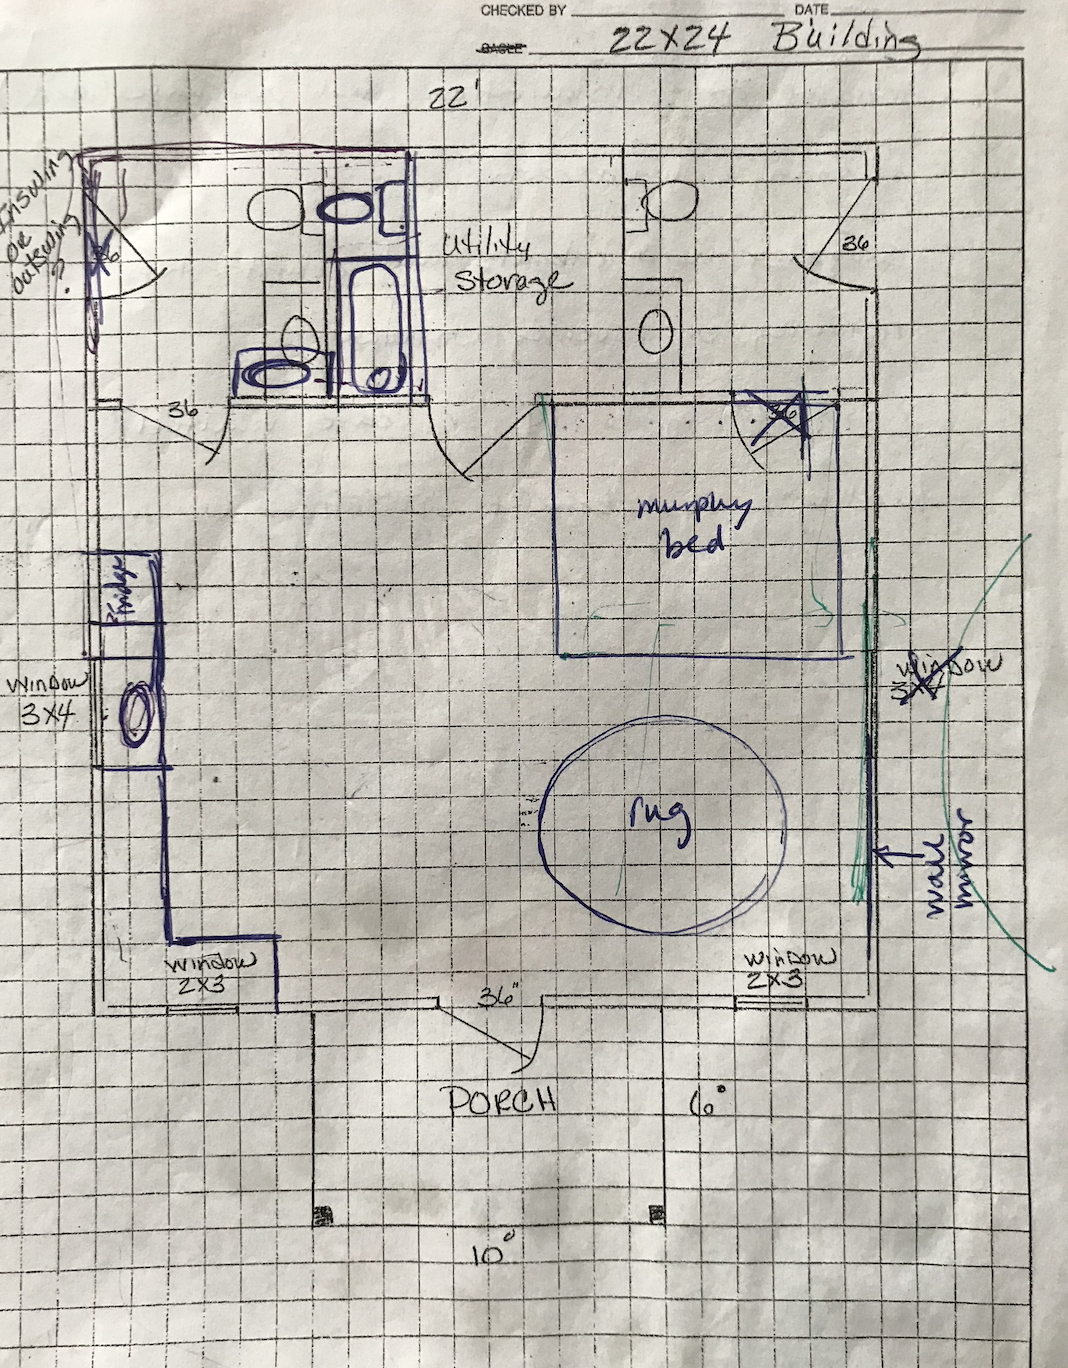
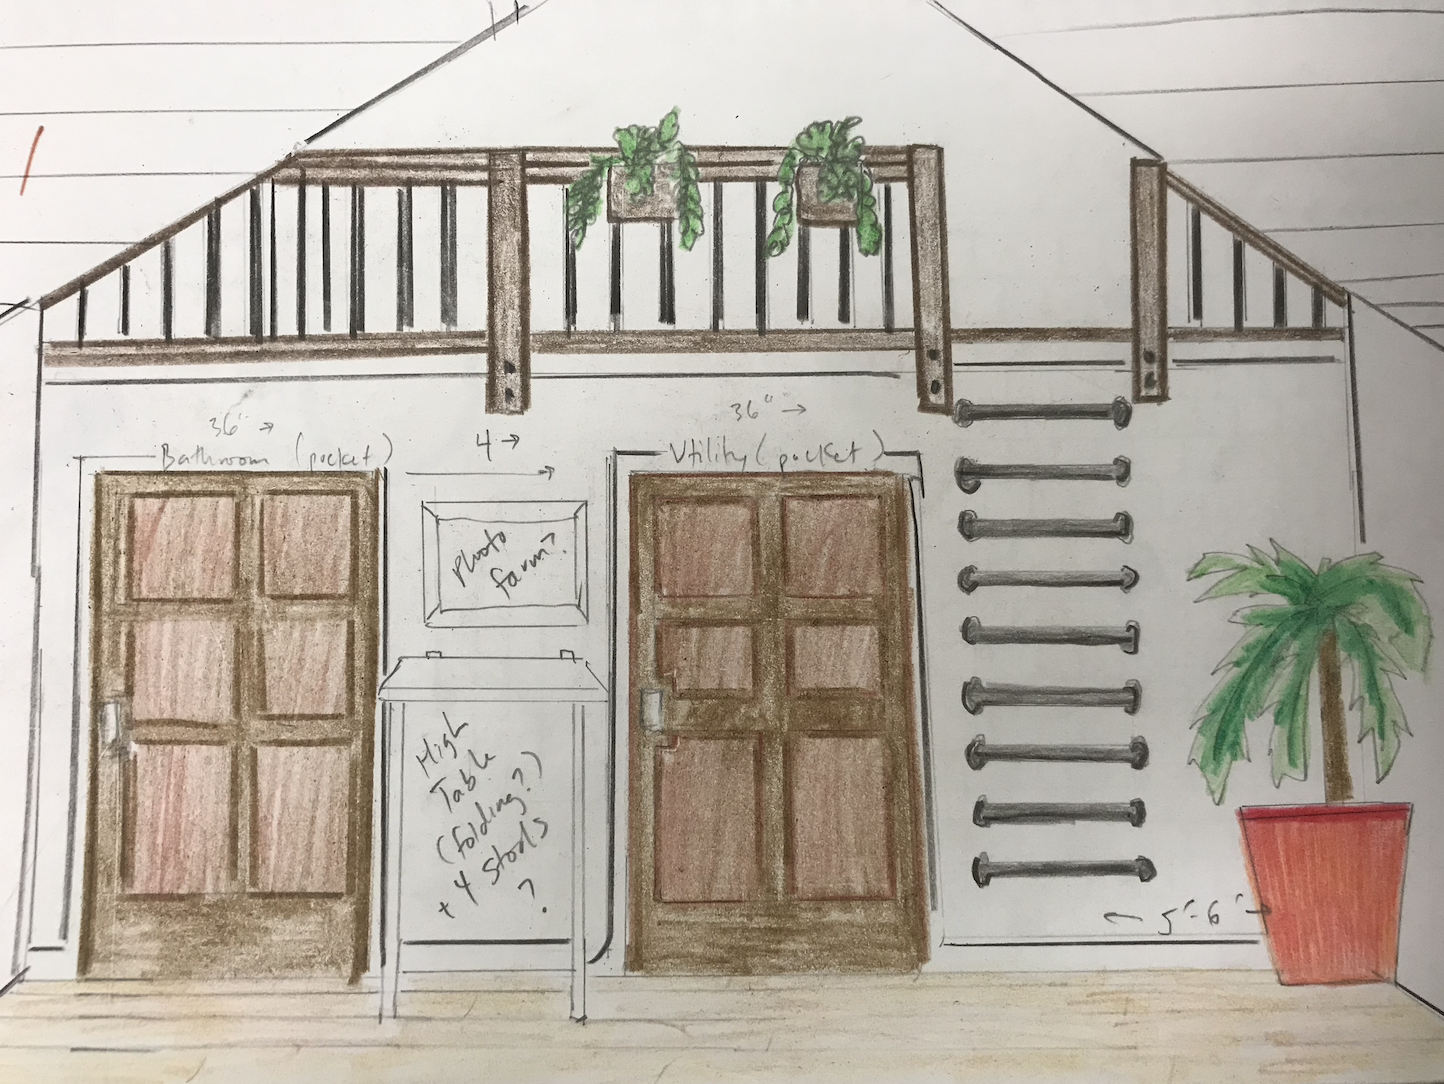
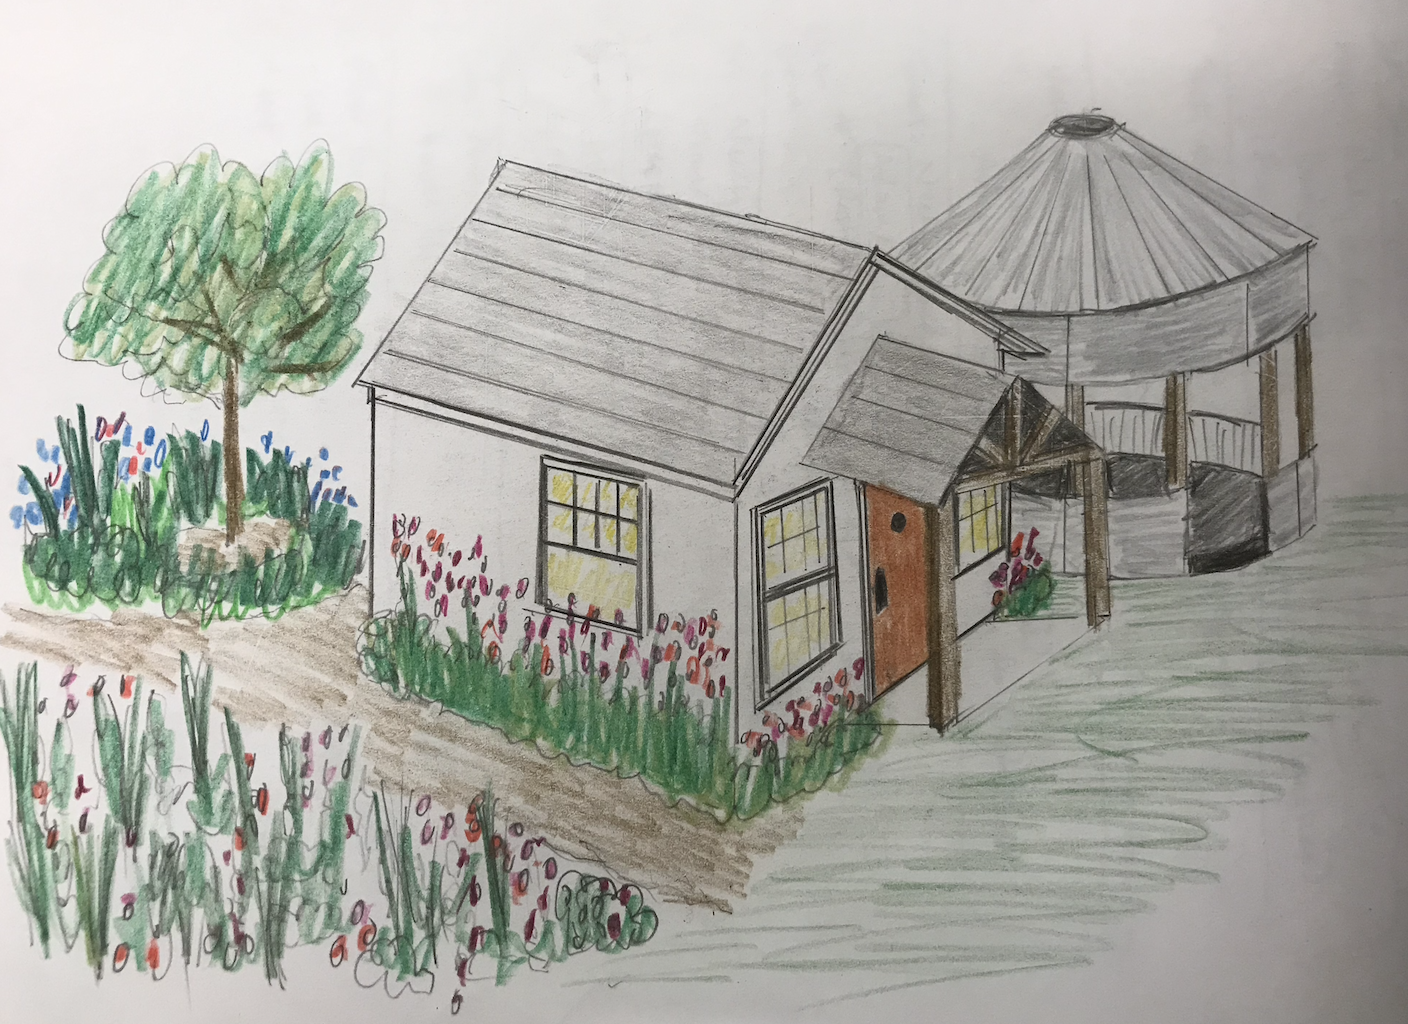
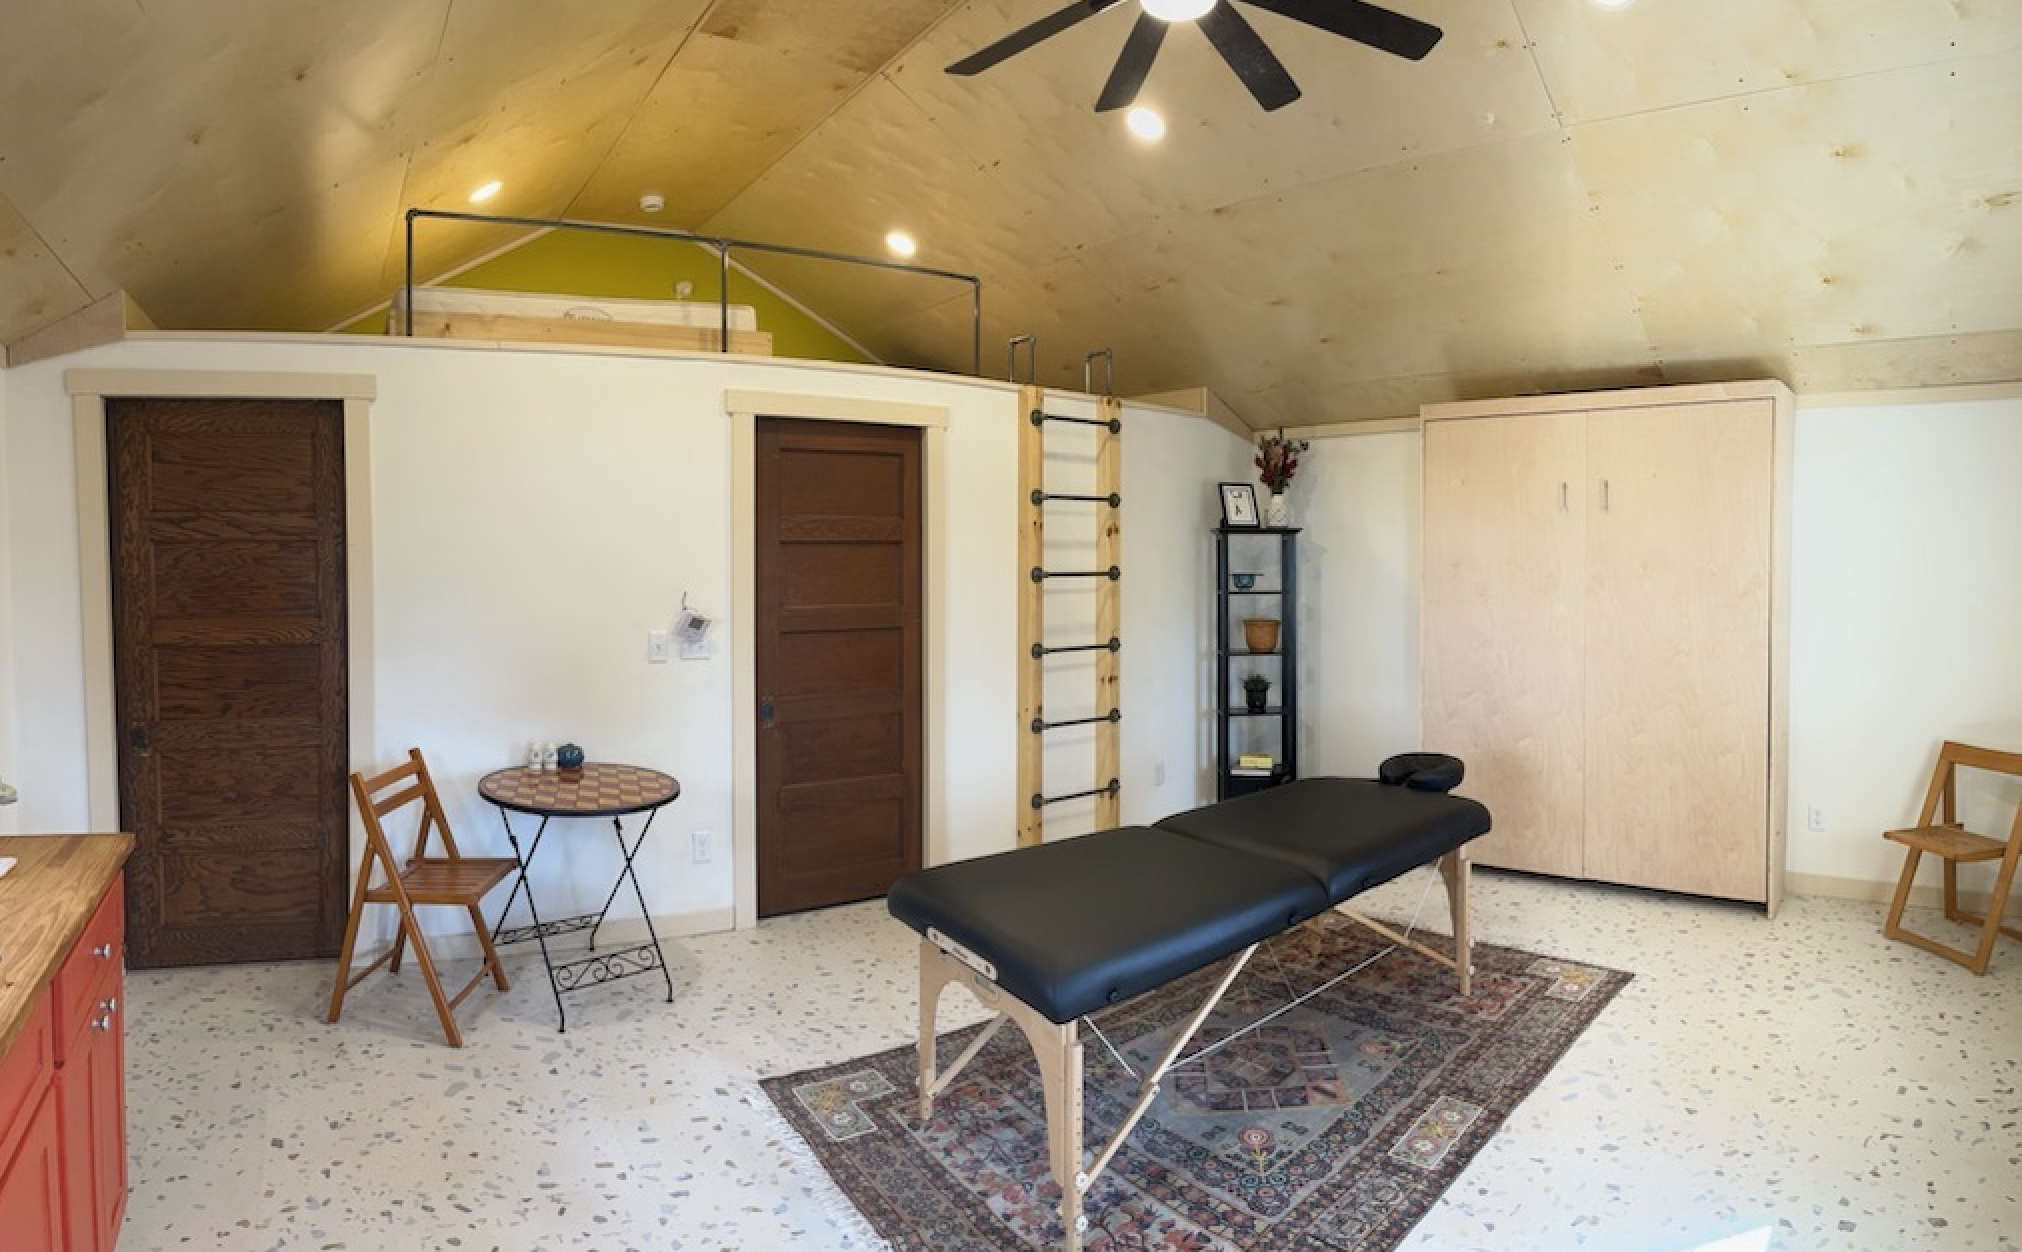
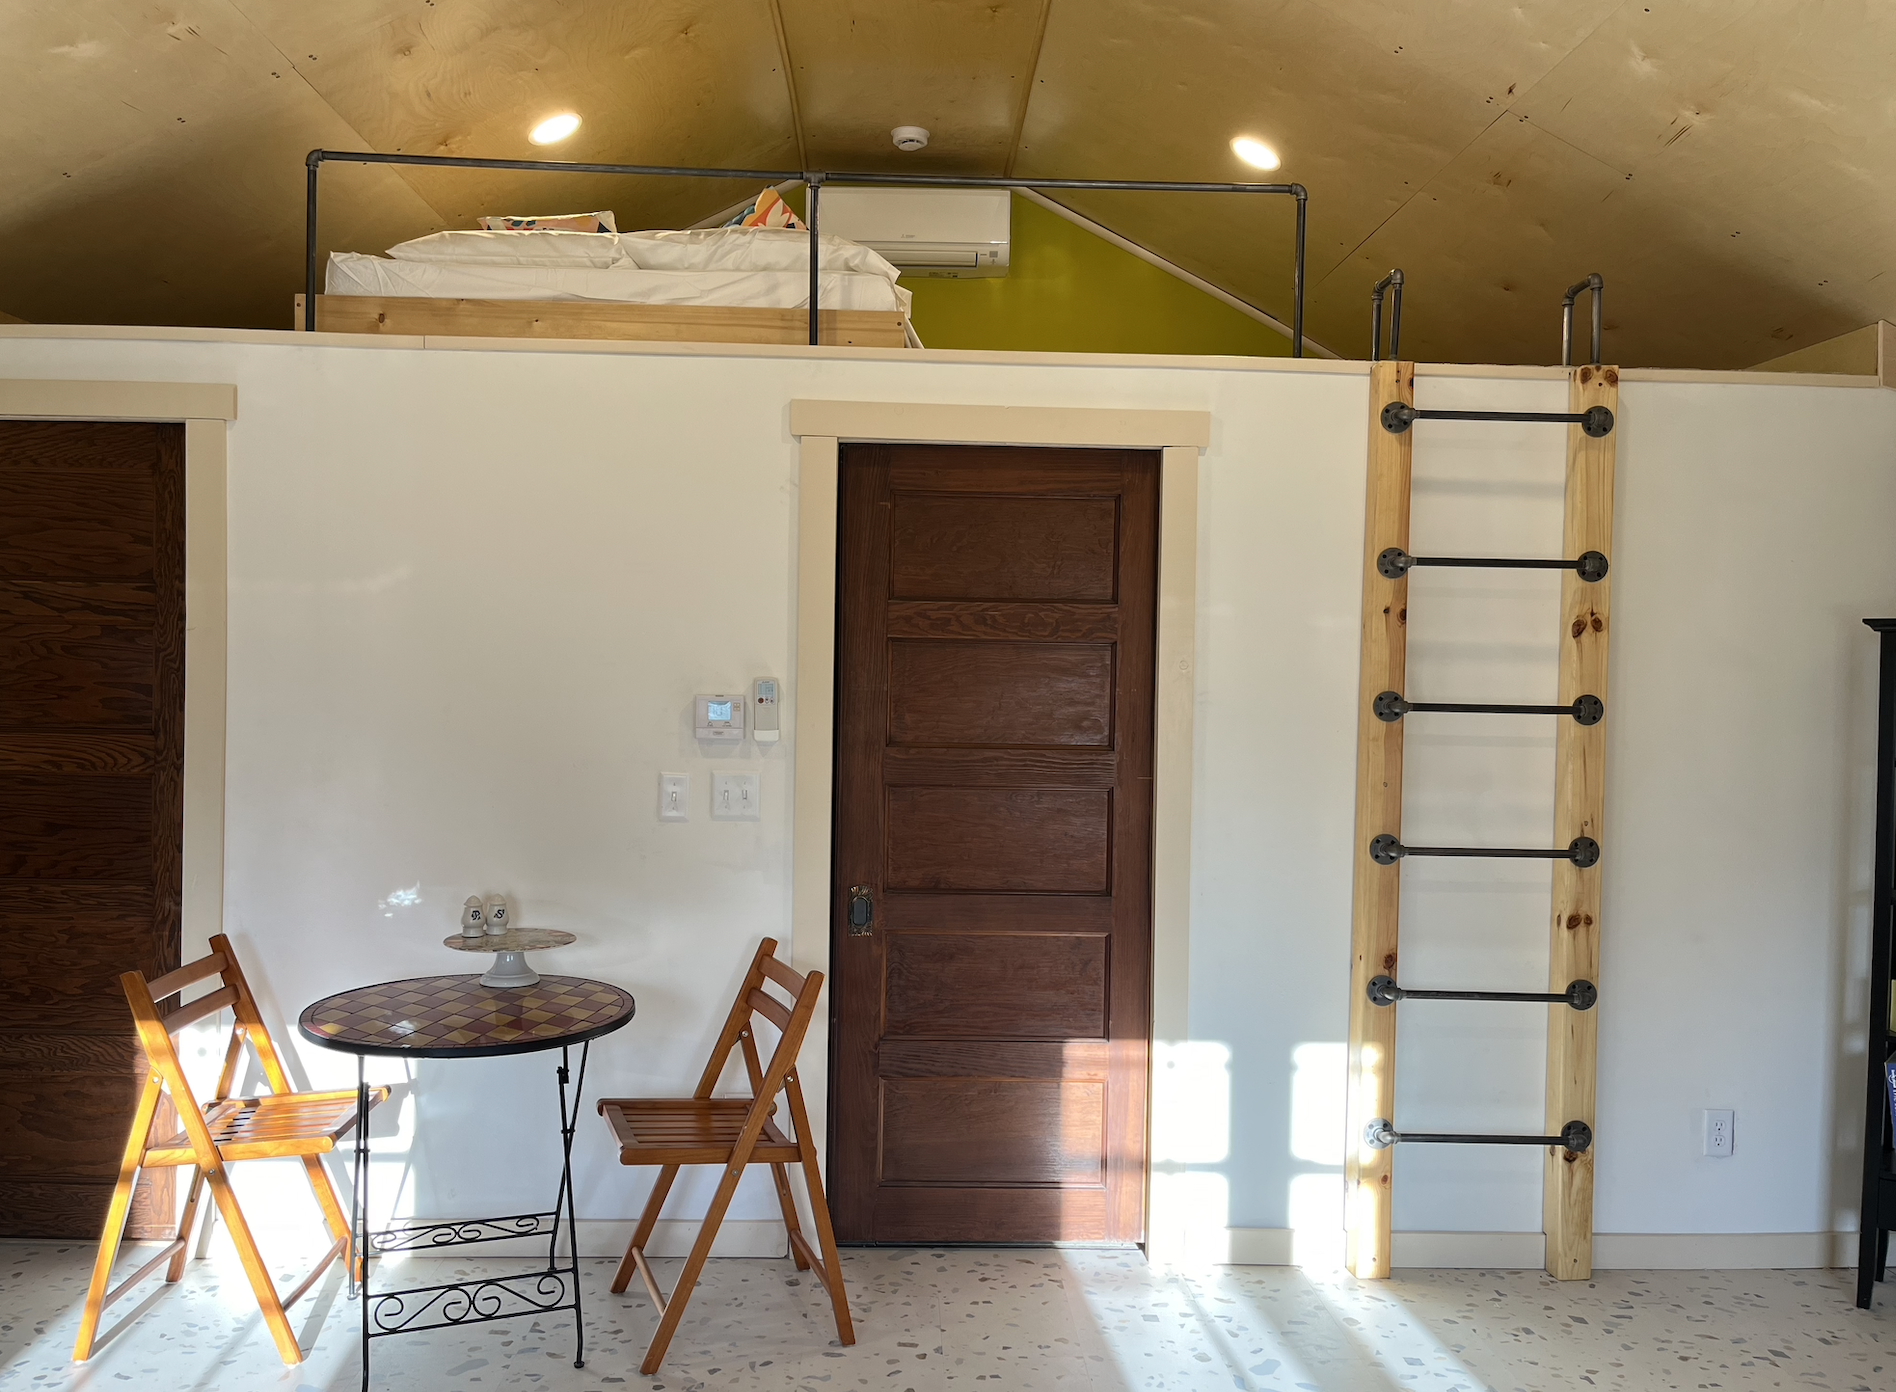
Our contractor for the project was Built Rite LLC from Lime Springs. We began with a simple 2D floor plan. What was the main garage door on the west side was to become the main entrance. It would open into a larger space (16x20’) that would include a kitchenette, full fridge, microwave and a Murphy bed. The east side would include a private on-suite bathroom (7x8’), a utility room (5x7’) and a separate public bathroom (7x7’) that could only be accessed from the outside. Above these three smaller rooms would be a lofted space for additional sleeping.
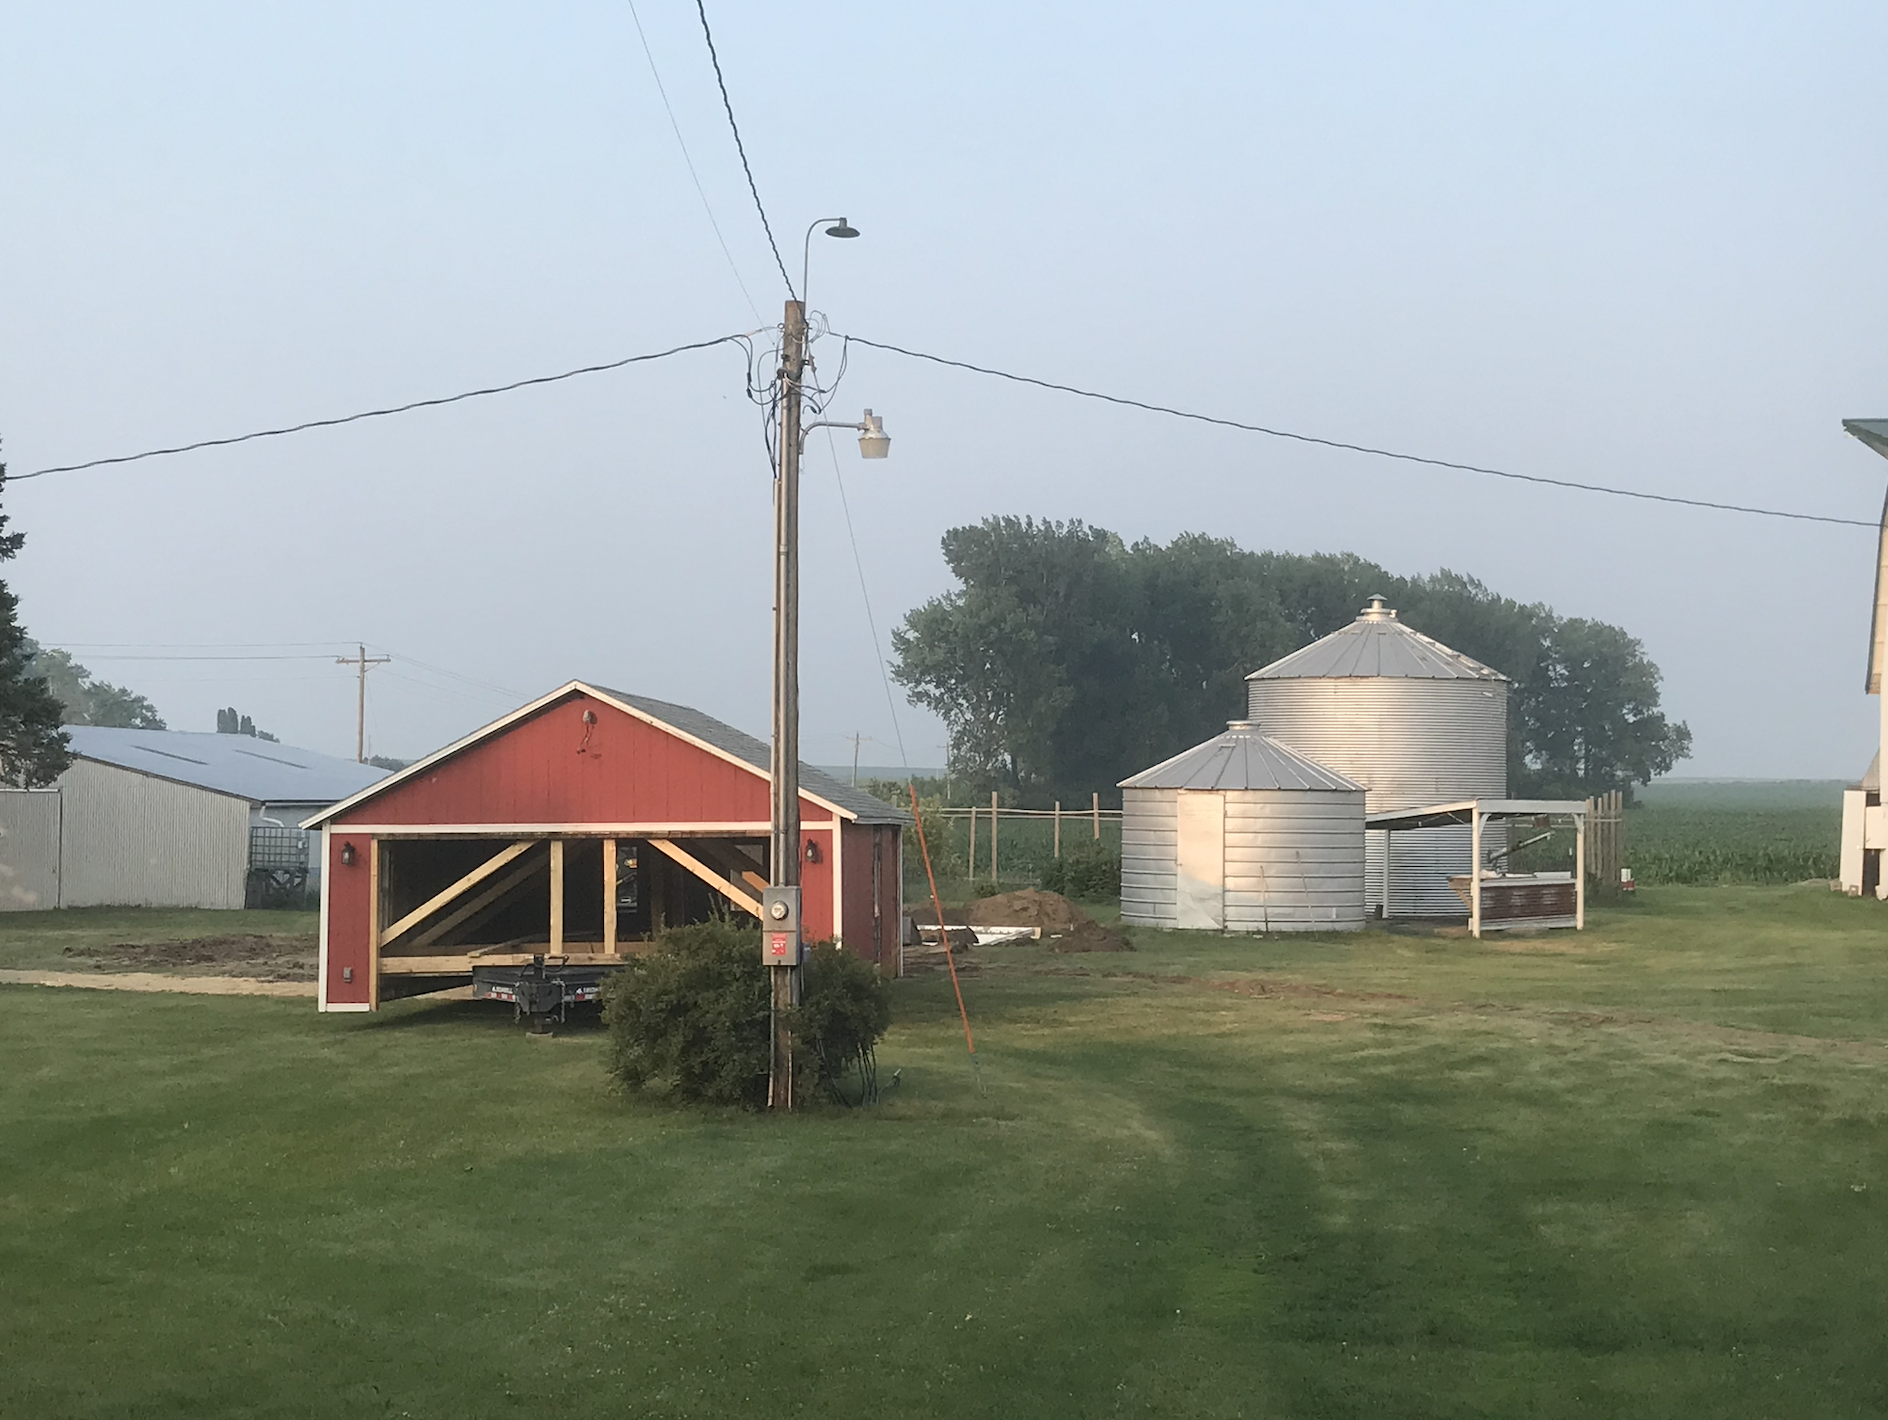
In order to make the loft work the contractors had to remove the bottom chord of the truss and reinforce the top chord with 2x6” treated lumber. When the contractors went to remove the existing cement floor, the 18” foundation started to give away. This meant the entire foundation was going to need replacing. The only way to do this was to literally lift the entire structure and move it.
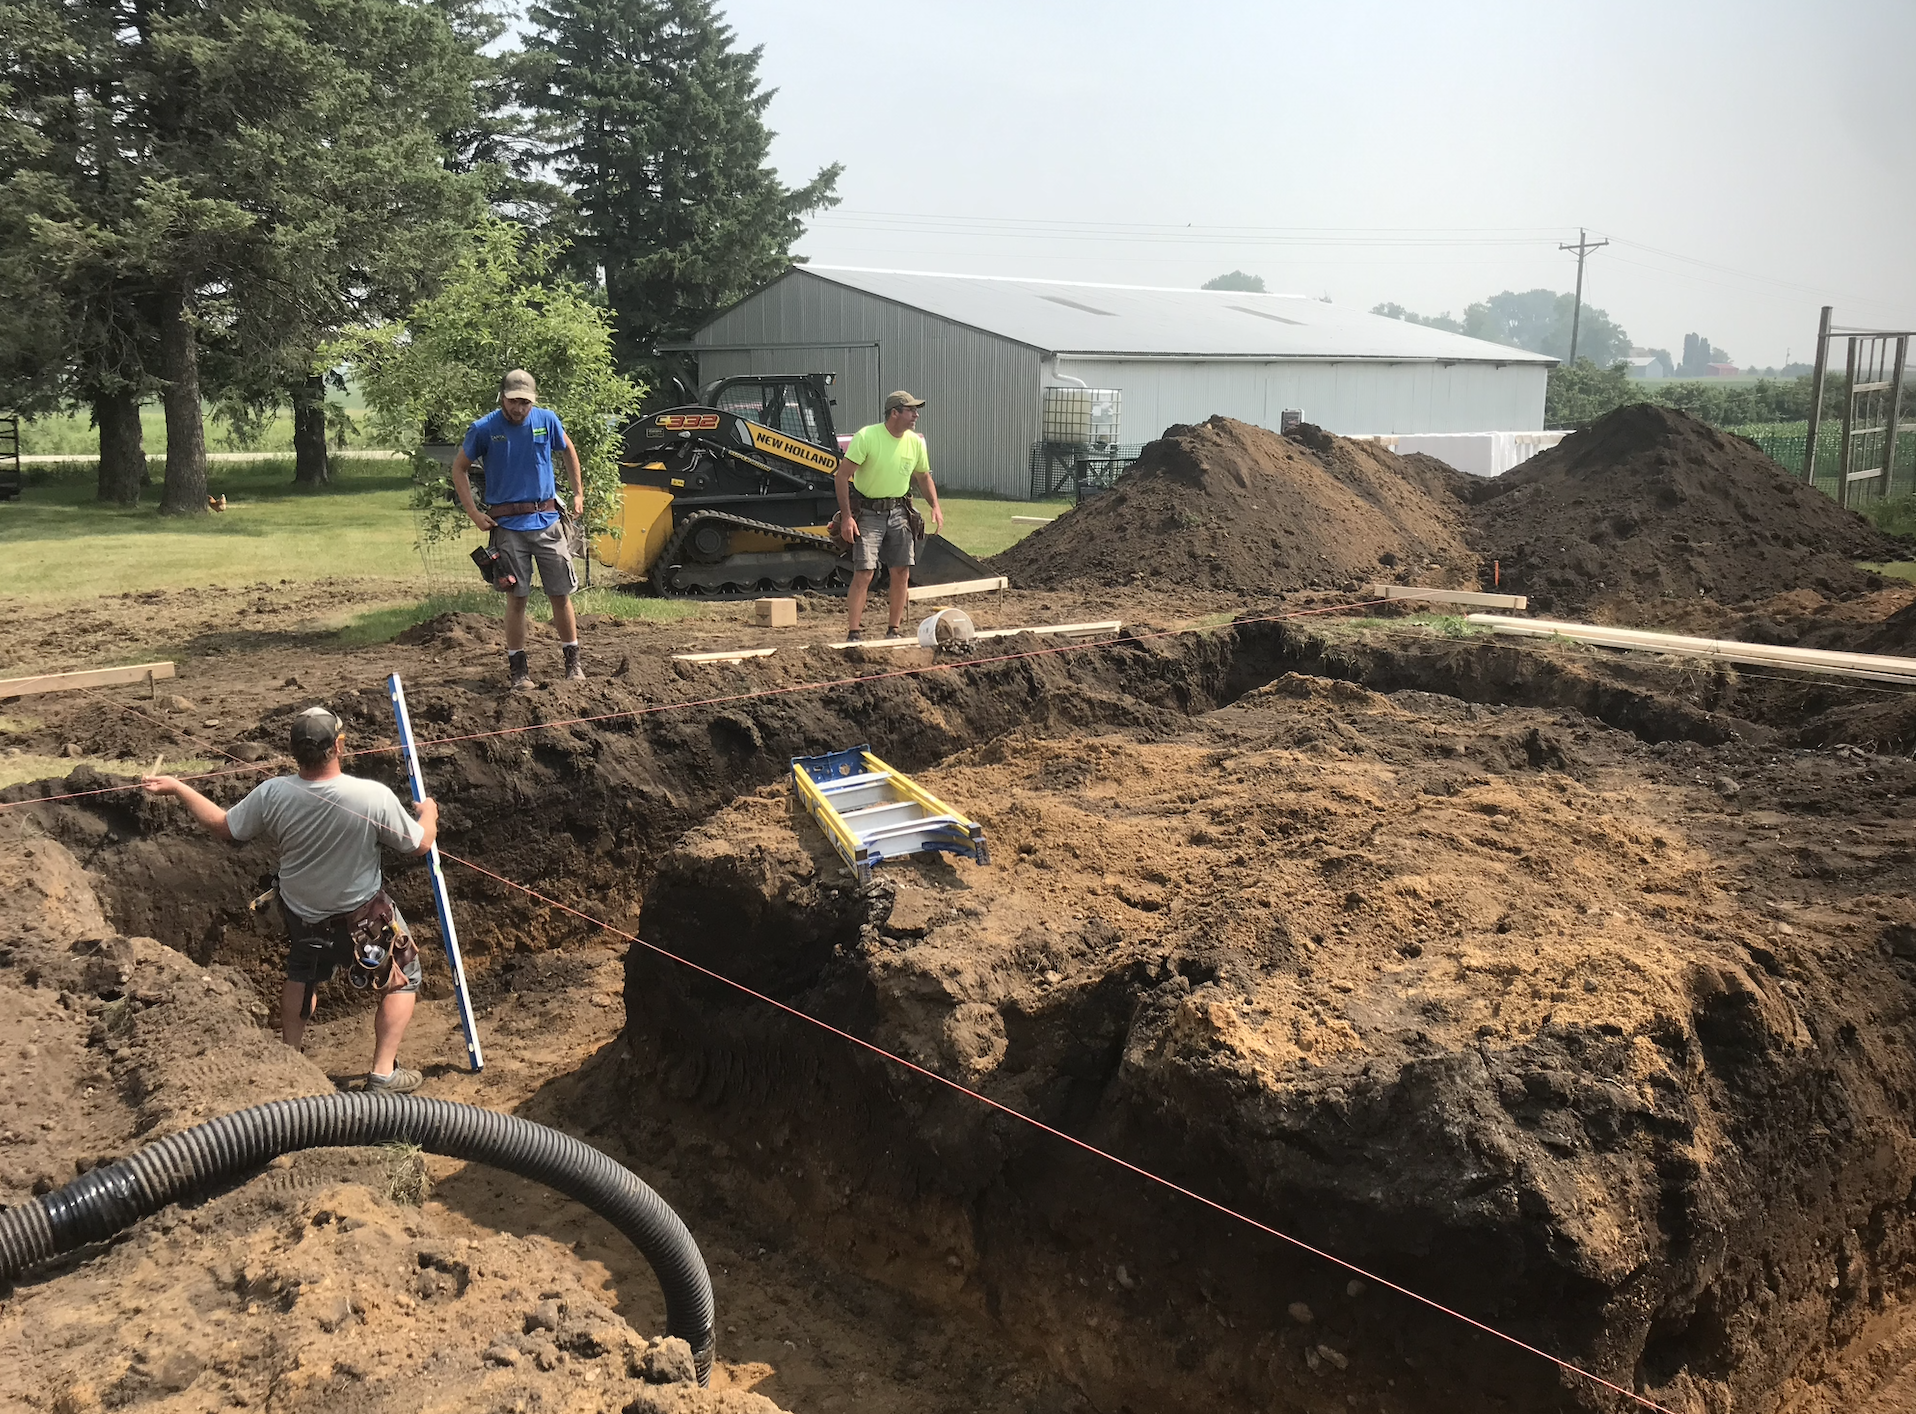
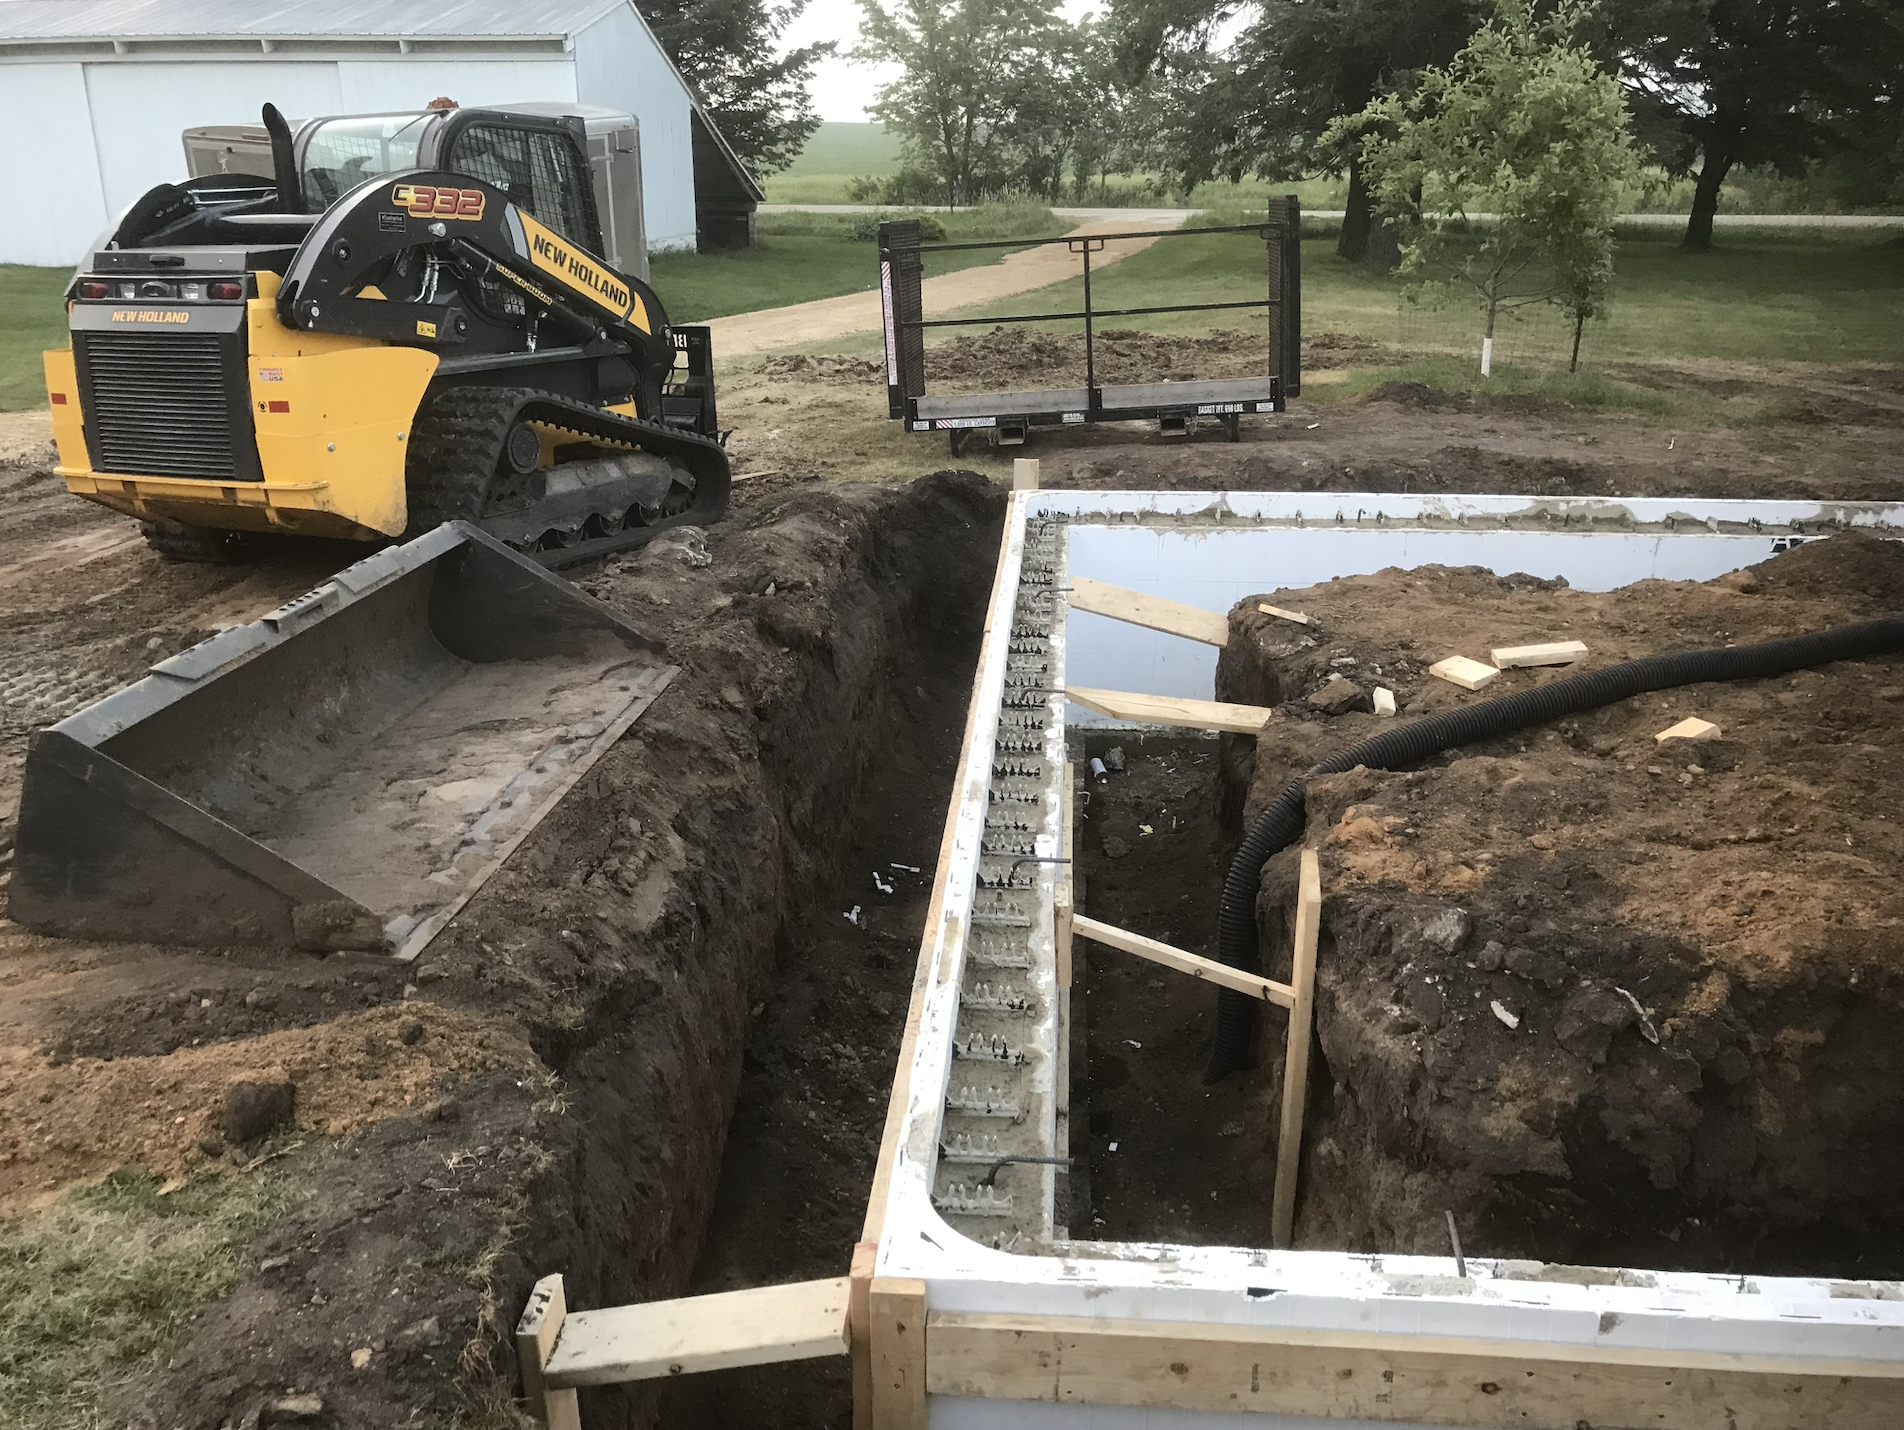
After moving the shed off the site, a new foundation was dug and ICF foam was installed. The plumbers (Pickar-Oulman, Rockville, IA) installed the tubing for plumbing and inflow heat and the cement was poured. After curing the structure was carefully placed back and the internal framing commenced once again.
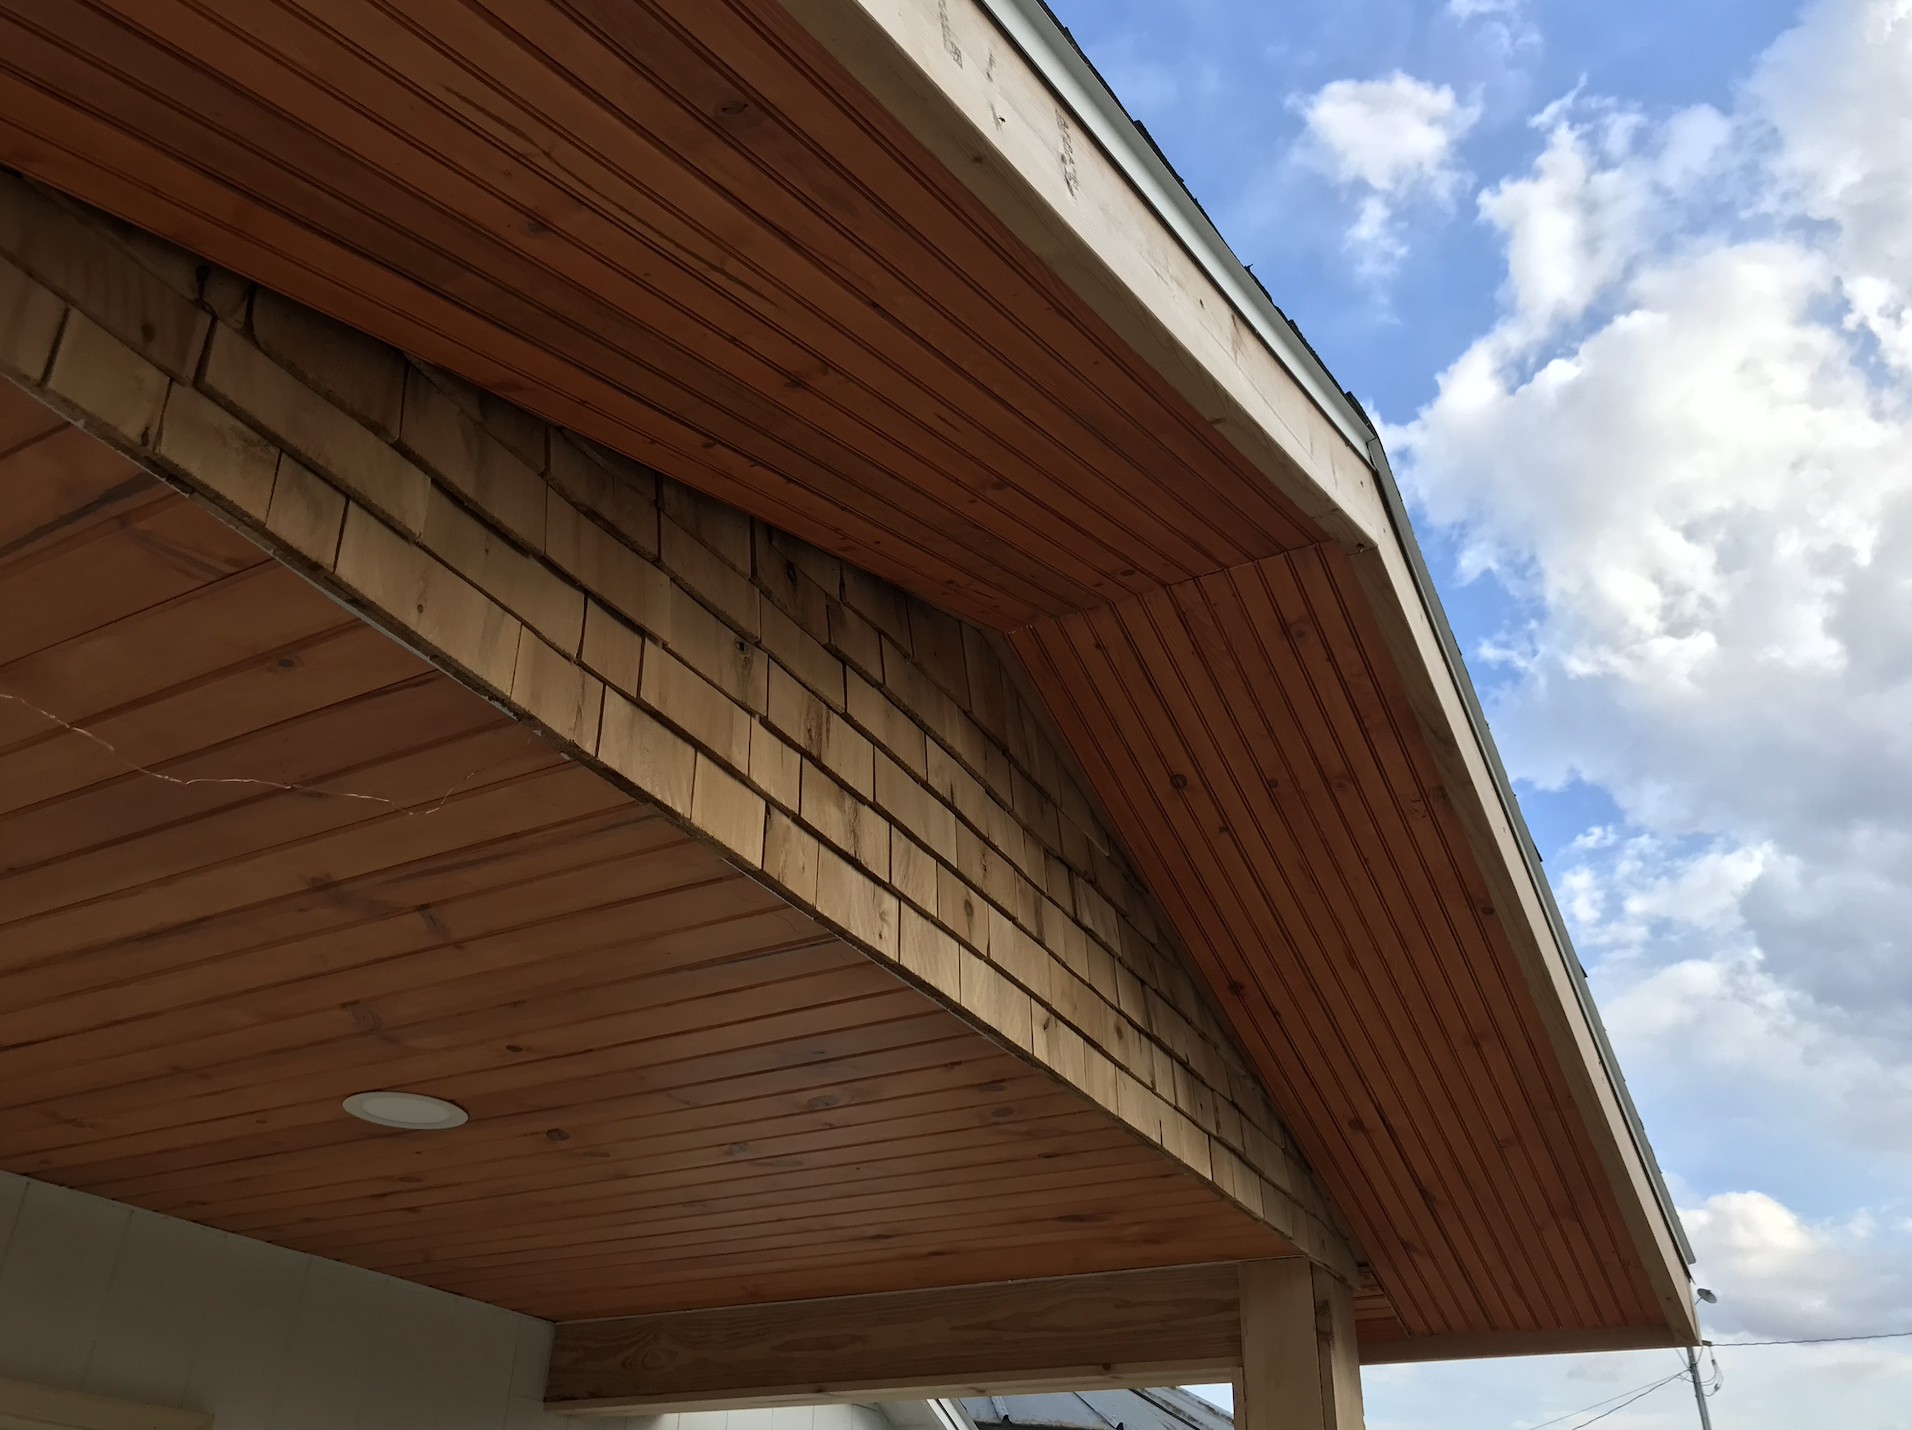
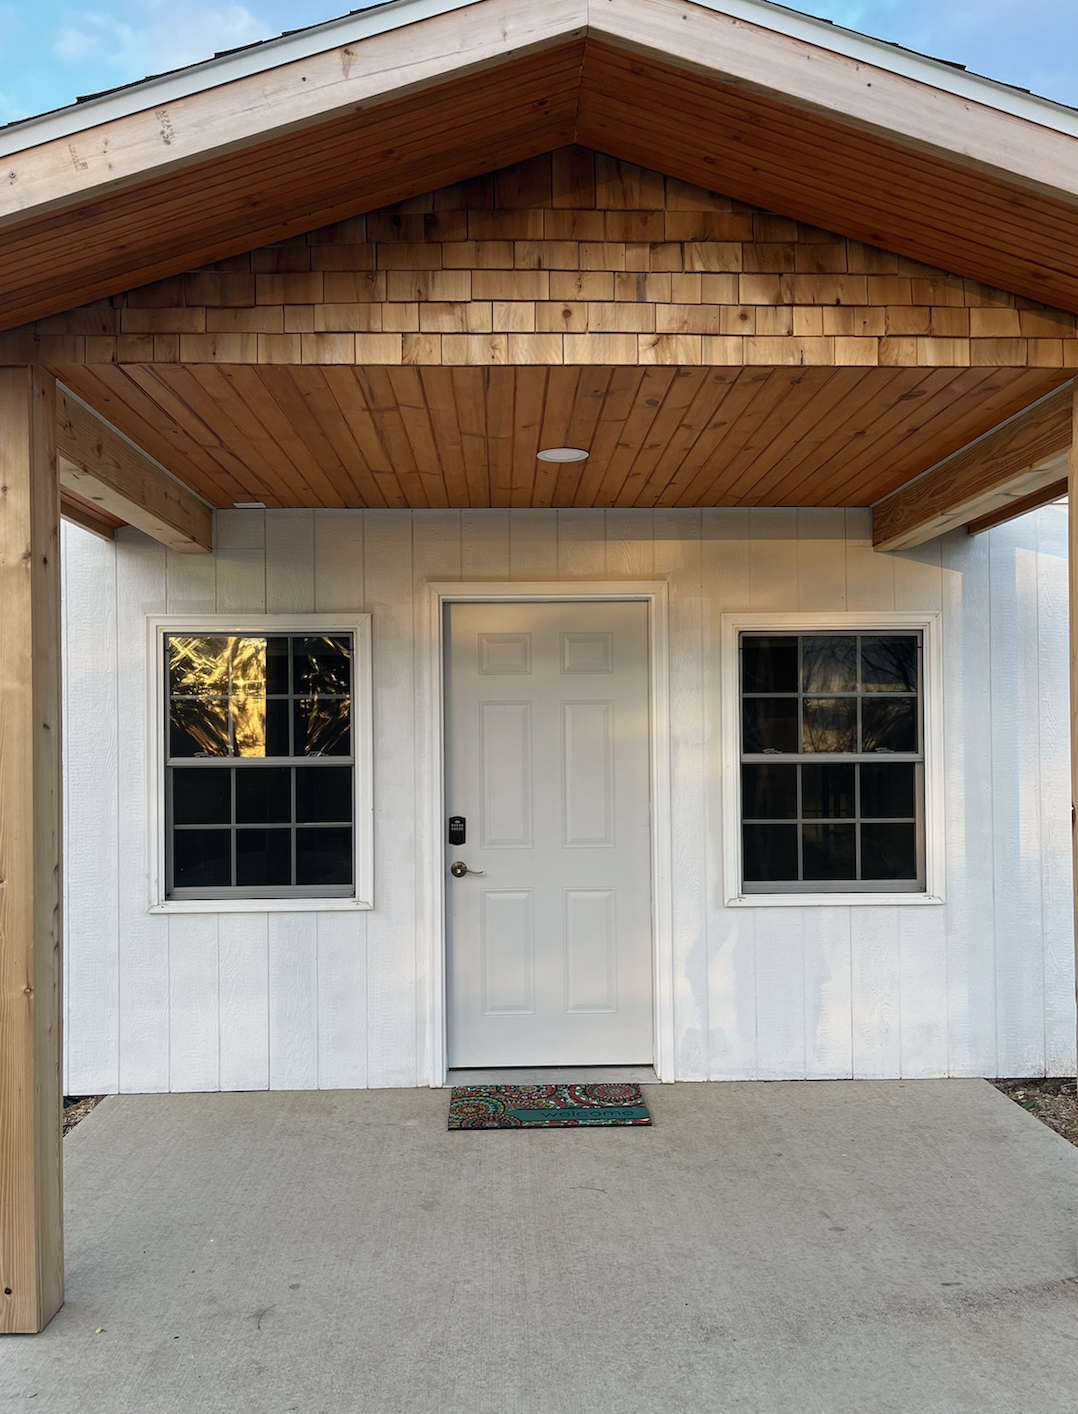
One additional feature was to add an overhang or porch (8x10’) over the front entrance. The cement pad for this was also poured and framed up using two 6x6” beams.
Once all the framing (Built Rite) and electrical work (Pickar-Oulman) was finished inside and it was time to insulate we had to make the decision whether to spray foam or use blanket insulation. When we received the quote ($4,500) for spray foam we decided it was out of our budget. It was at that point that Flannery and I had to/decided to take over and do the rest of the work ourselves.
The remainder of this project could not have been done without the help of family, friends and Youtube. Neither Flannery nor I had ever done insulation, drywall, texturing, vinyl floor installation, tiling a shower, or carpet installation. We were excited and willing to to learn how to do these things and the smaller structure seemed like a good way to learn without becoming overwhelming. We also knew it meant the project would take longer to complete on our own time and every available minute would be devoted to the project.
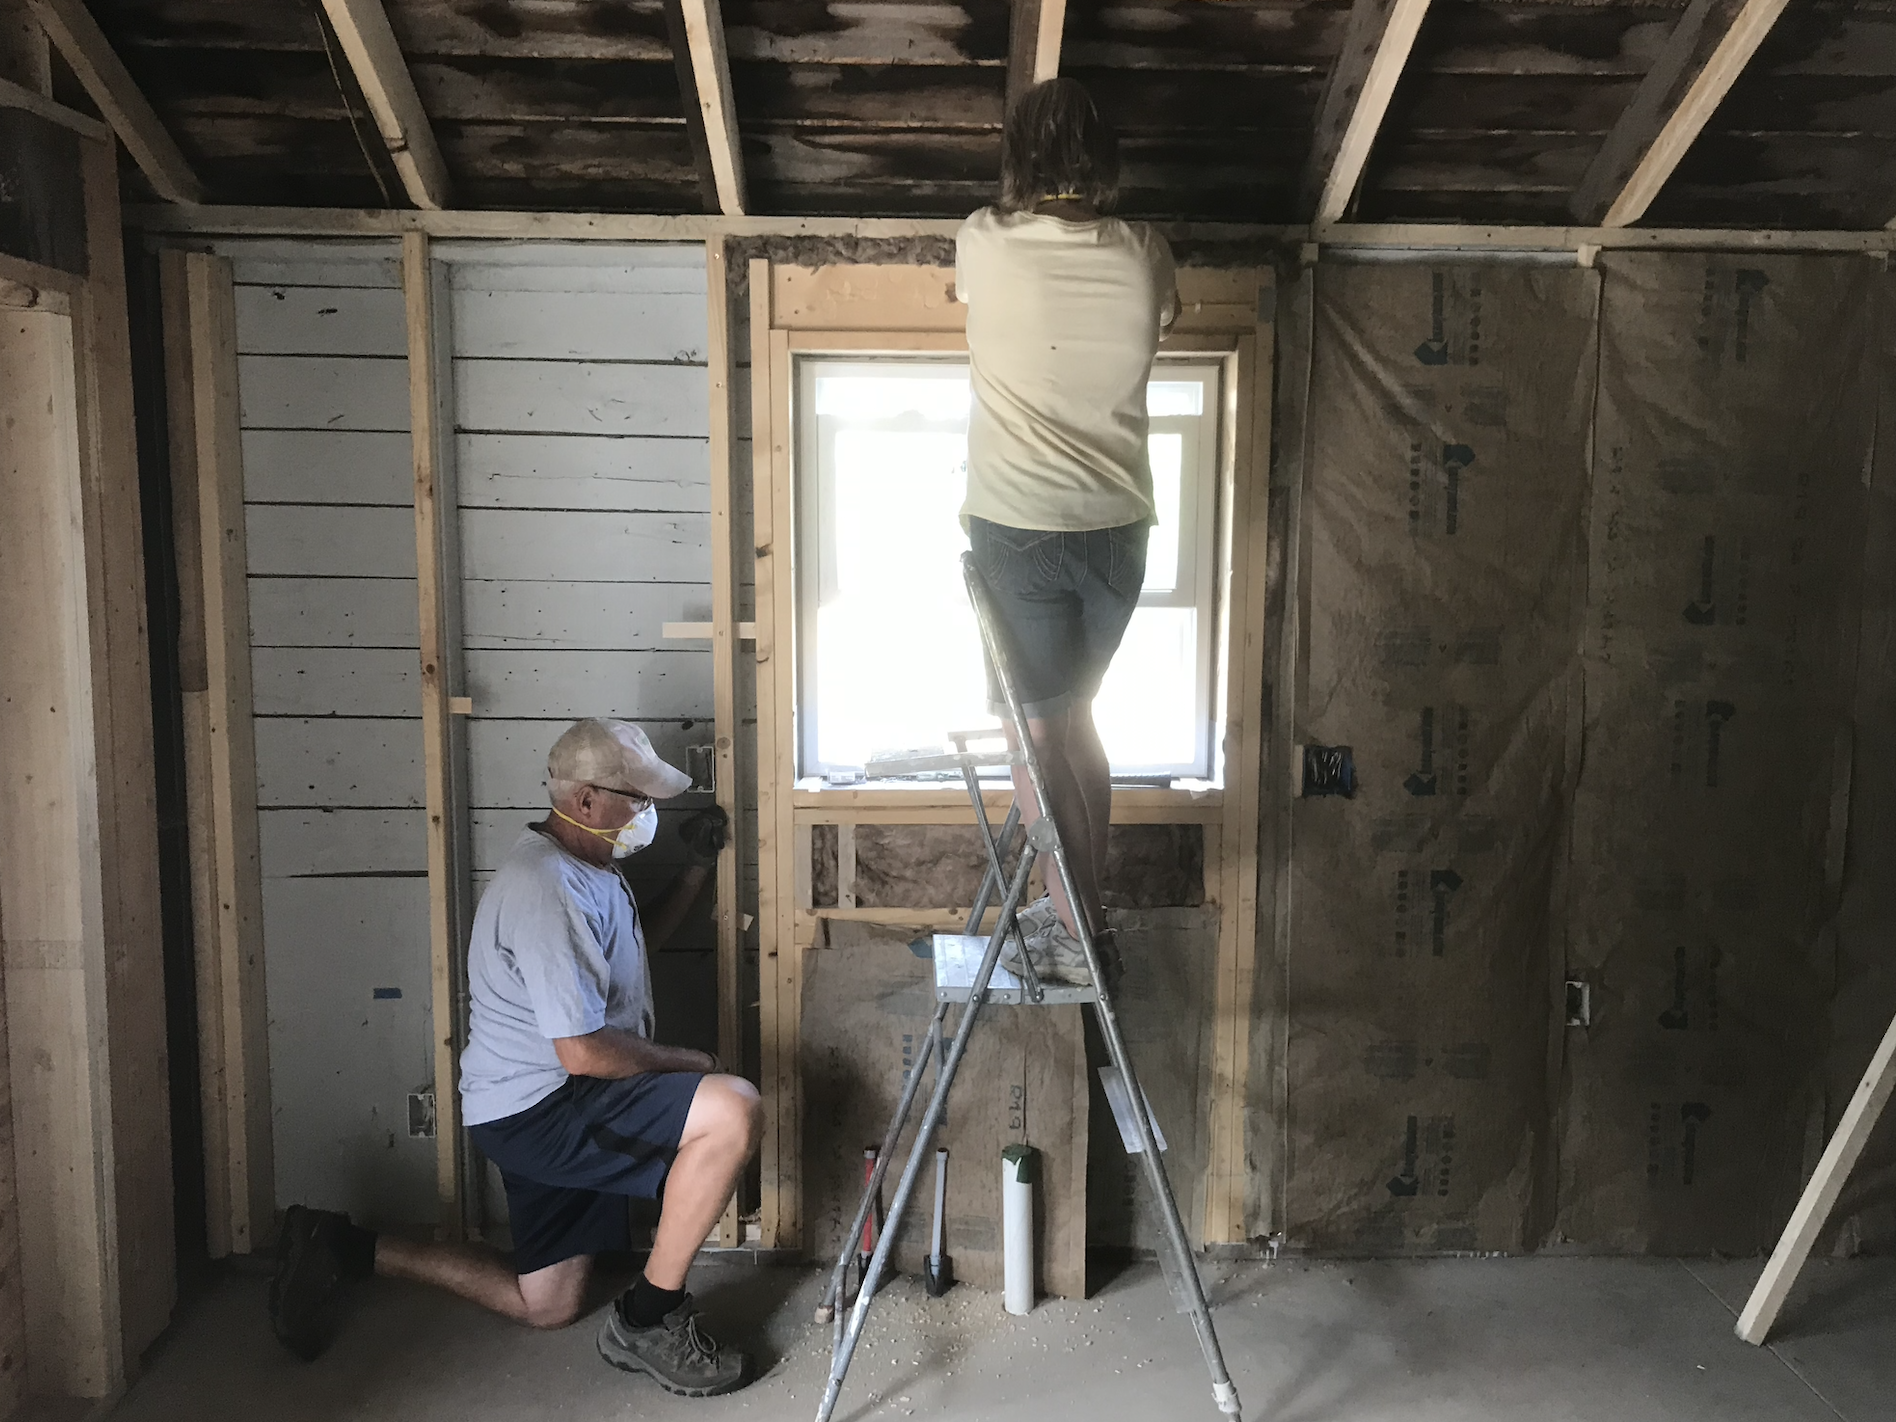
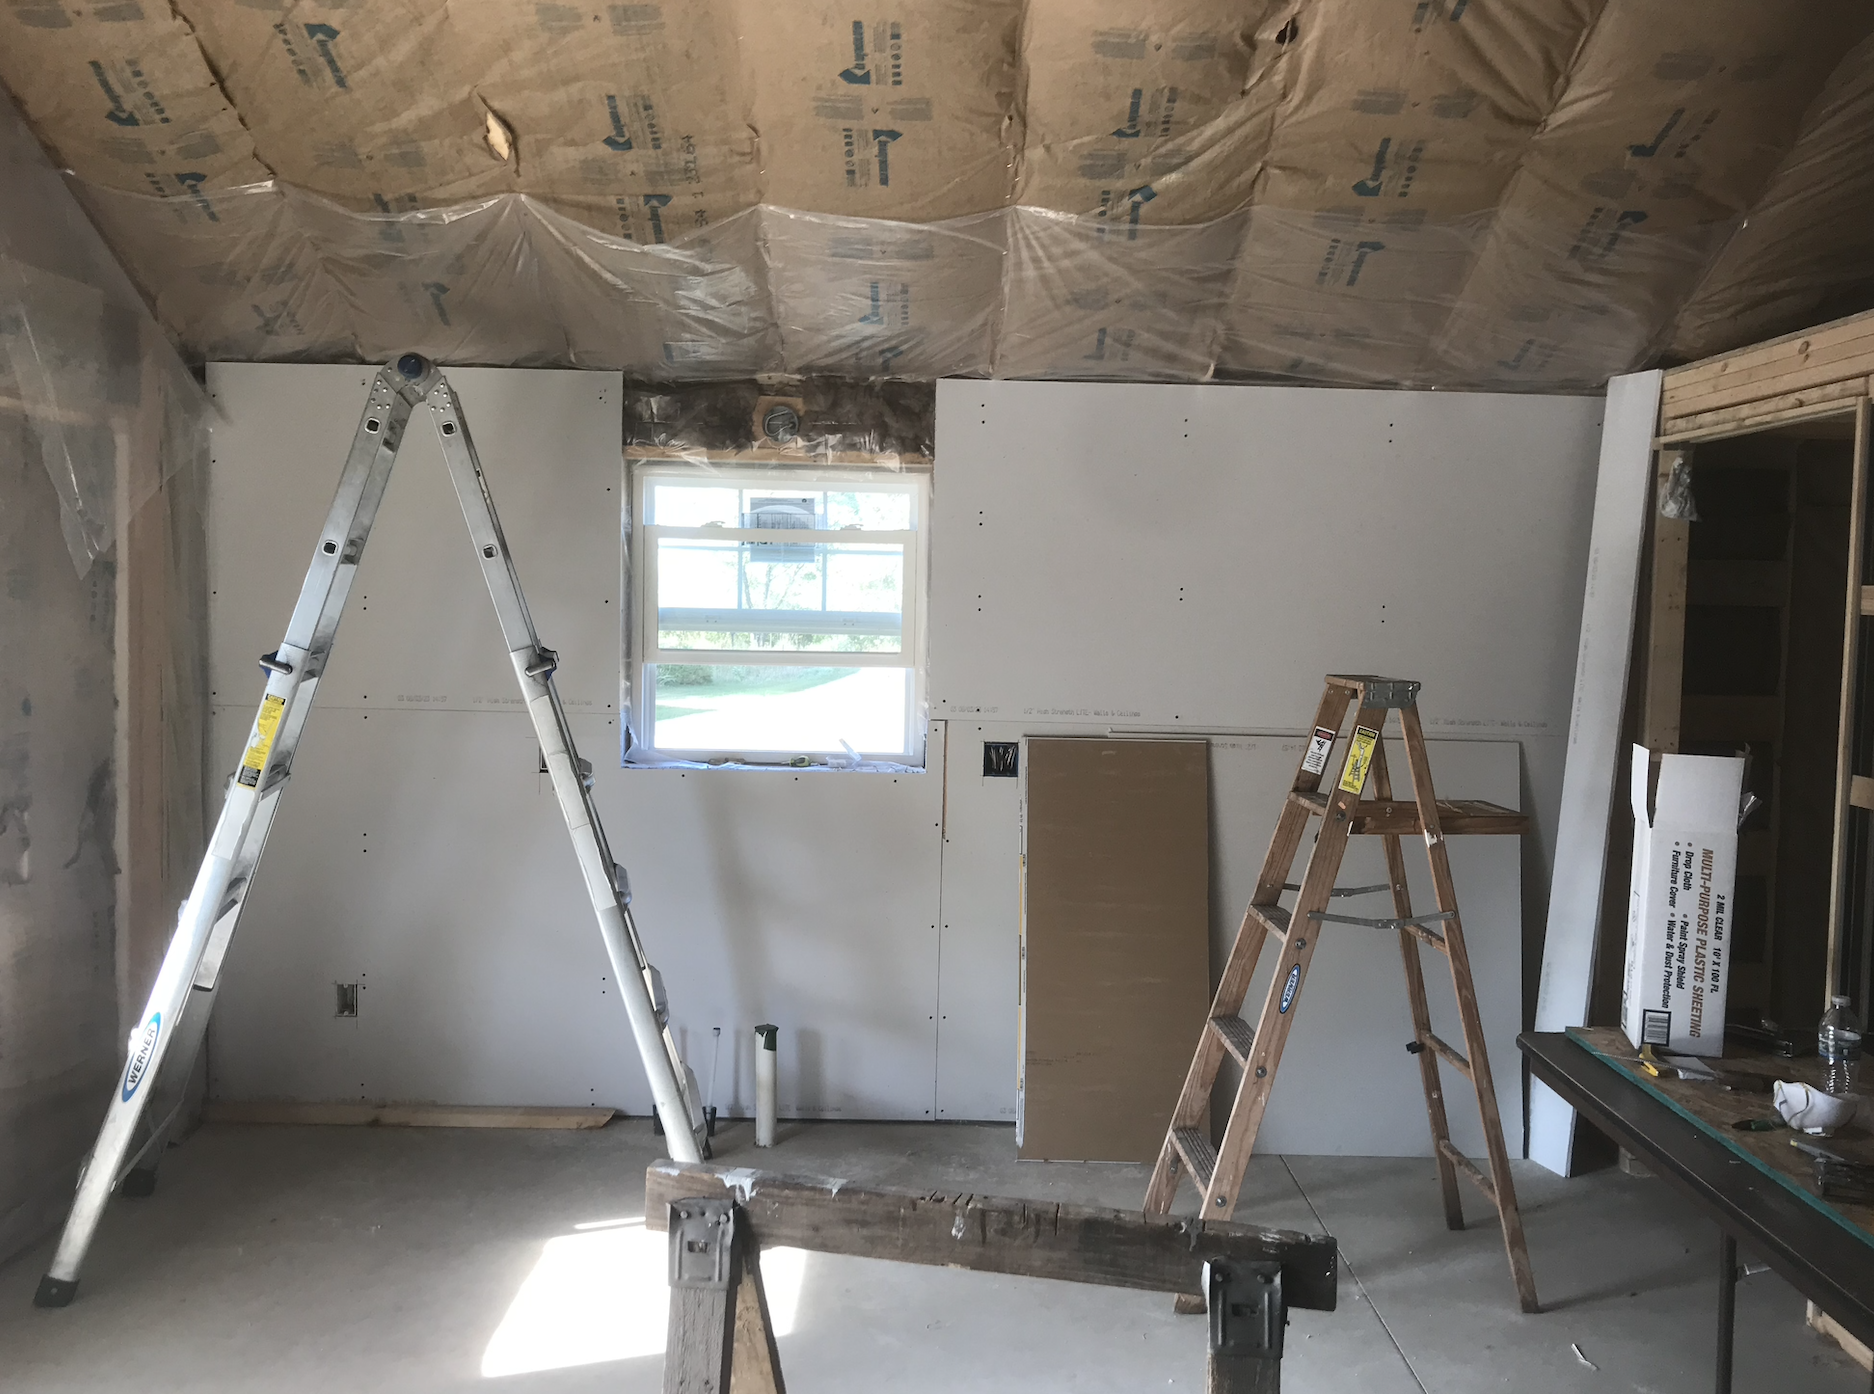
Adam’s parents (Mark and Barb) had just finished off the basement of their new home and were very knowledgeable in helping us get though the first hurdle of the walls. In an afternoon they came over to show us how to install the blanket insulation (R-19). To complete the project a friend, Will Ode, came over to help Adam complete the ceiling and bathroom walls. Once the insulation was installed we put a layer of 2-mm plastic sheeting (vapor barrier) on top of the insulation. Next came the drywall.
We decided to use 1/2” drywall (4x8’) and drywall screws. For the private bathroom with a shower, however, we purchased drywall that had a mold resistant coating. Once again, Mark and Barb came over to teach us in one day how to do drywall. Adam and Flannery worked together to finish the remainder of the drywall themselves.
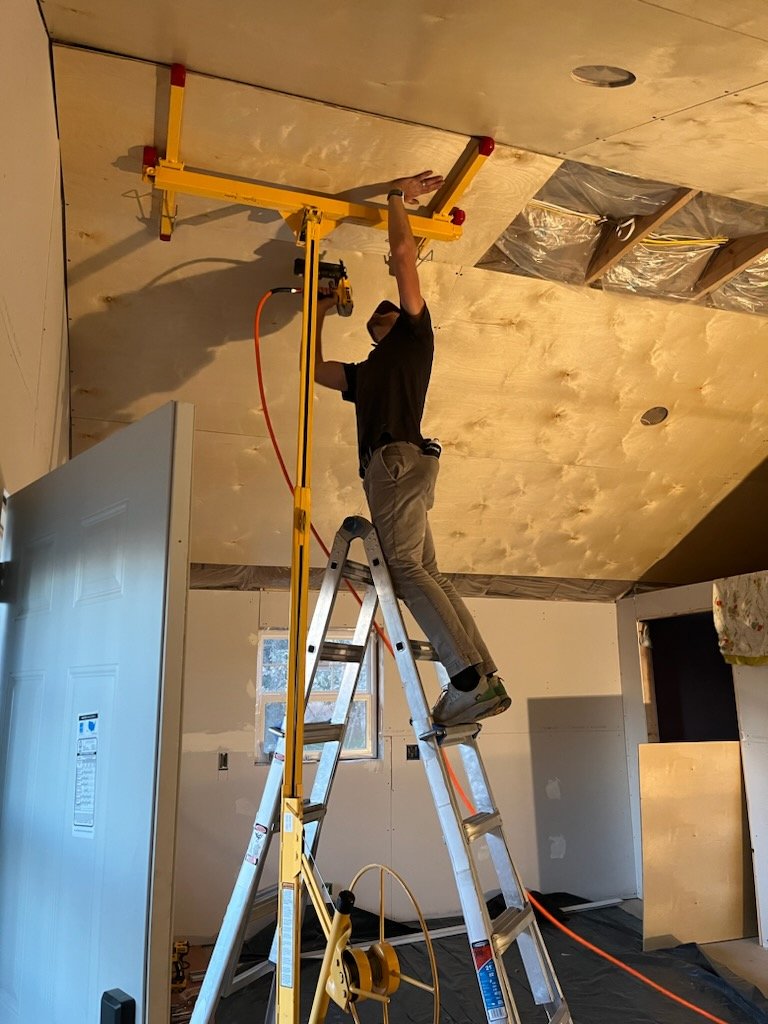
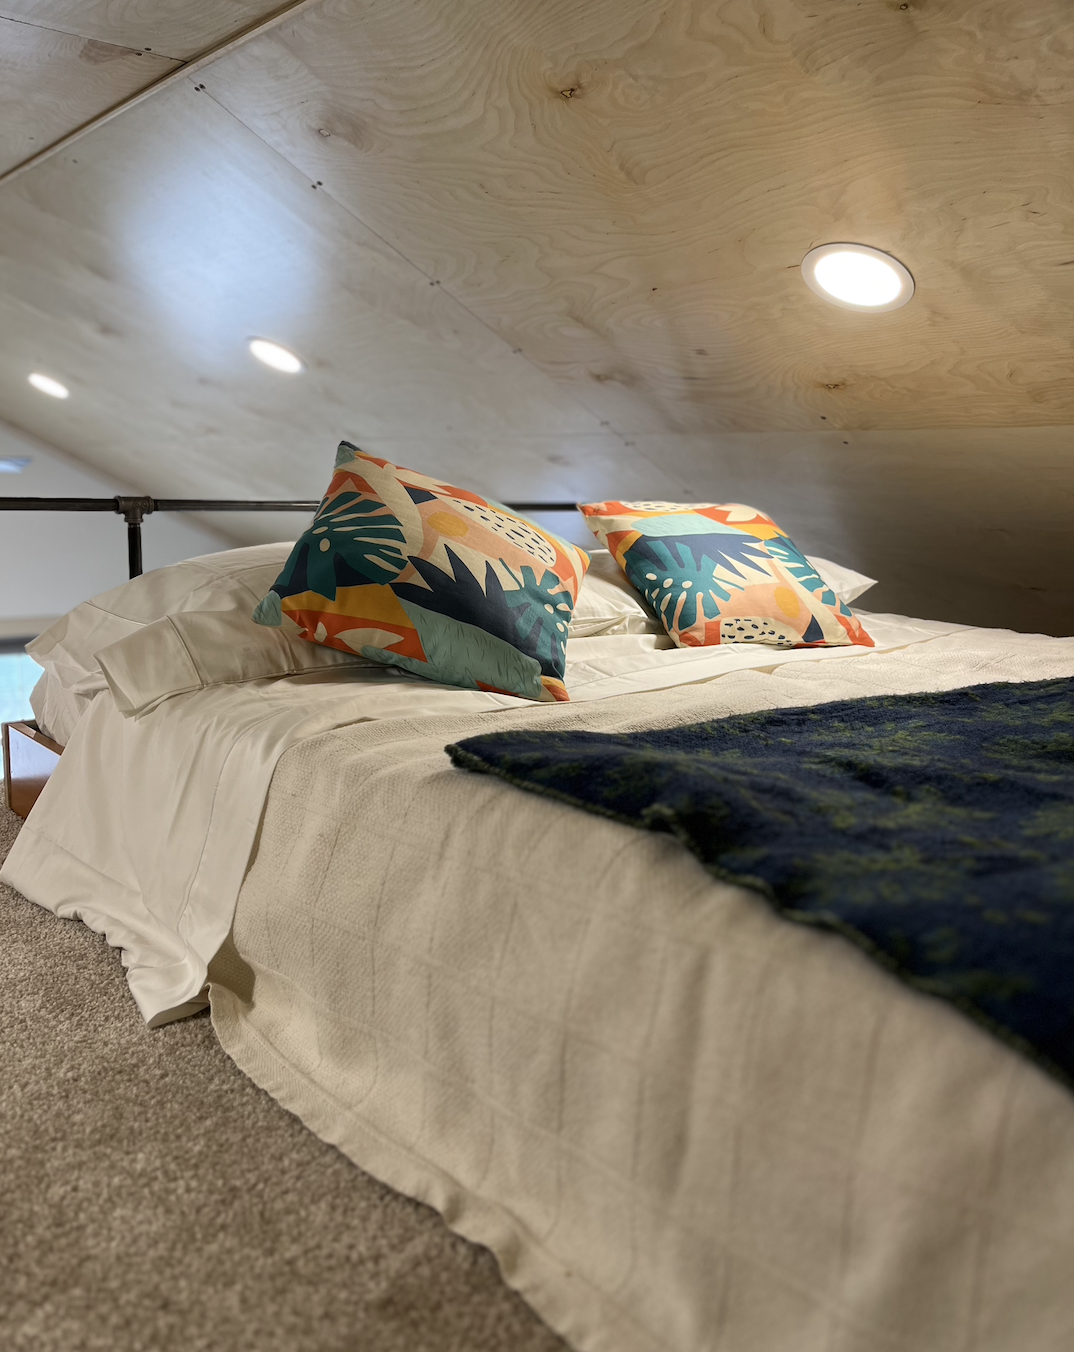
Before we started taping and mudding we wanted to do the ceiling. In previous AirBnB stays we had seen and liked the look of finished birch plywood for a ceiling. We bought 14 sheets of this (4x8’) and rented a drywall lift from Decorah Rental. In a weekend Adam, Linden and Flannery installed the plywood sheets. The project was not too difficult until we had to install the ceiling over the loft. This proved extremely difficult because the drywall lift couldn’t be used, which meant Flannery and Linden had to leg press the sheets up to the ceiling long enough that Adam could set and screw them into place. Flannery said it might have been harder than child labor.
Once the ceiling was installed and secured using 2.5” cabinet screws, we set out to finish the drywall. Once again, Mark and Barb came over to show us how to tape and mud. This took longer than we expected. After doing three rounds of mudding and sanding and re-mudding and sanding we thought we were ready to texture. When Mark came over to inspect our work we realized we weren’t ready for that stage yet. With inadequate lighting we couldn’t see all the imperfections and Mark realized this. He then installed two large fluorescent shop lights to the ceiling which illuminated those imperfections. Disappointed, Flannery and I set about sanding and mudding and sanding and mudding for another few weeks. We are grateful though for this extra patience because the final product turned out really well.
The morning of Christmas (Dec 25) Adam finished texturing the final walls which meant in a day or two we’d be able to paint. We purchased all our paint from Sherwin Williams in Decorah. The colors we chose were: wall = Greek Villa, trim - Irish Cream, wall in loft - Citronella, public bathroom wall - Hearty Orange, and private bathroom wall - Heart of Palms. Flannery did the bulk of the painting after I did the priming.
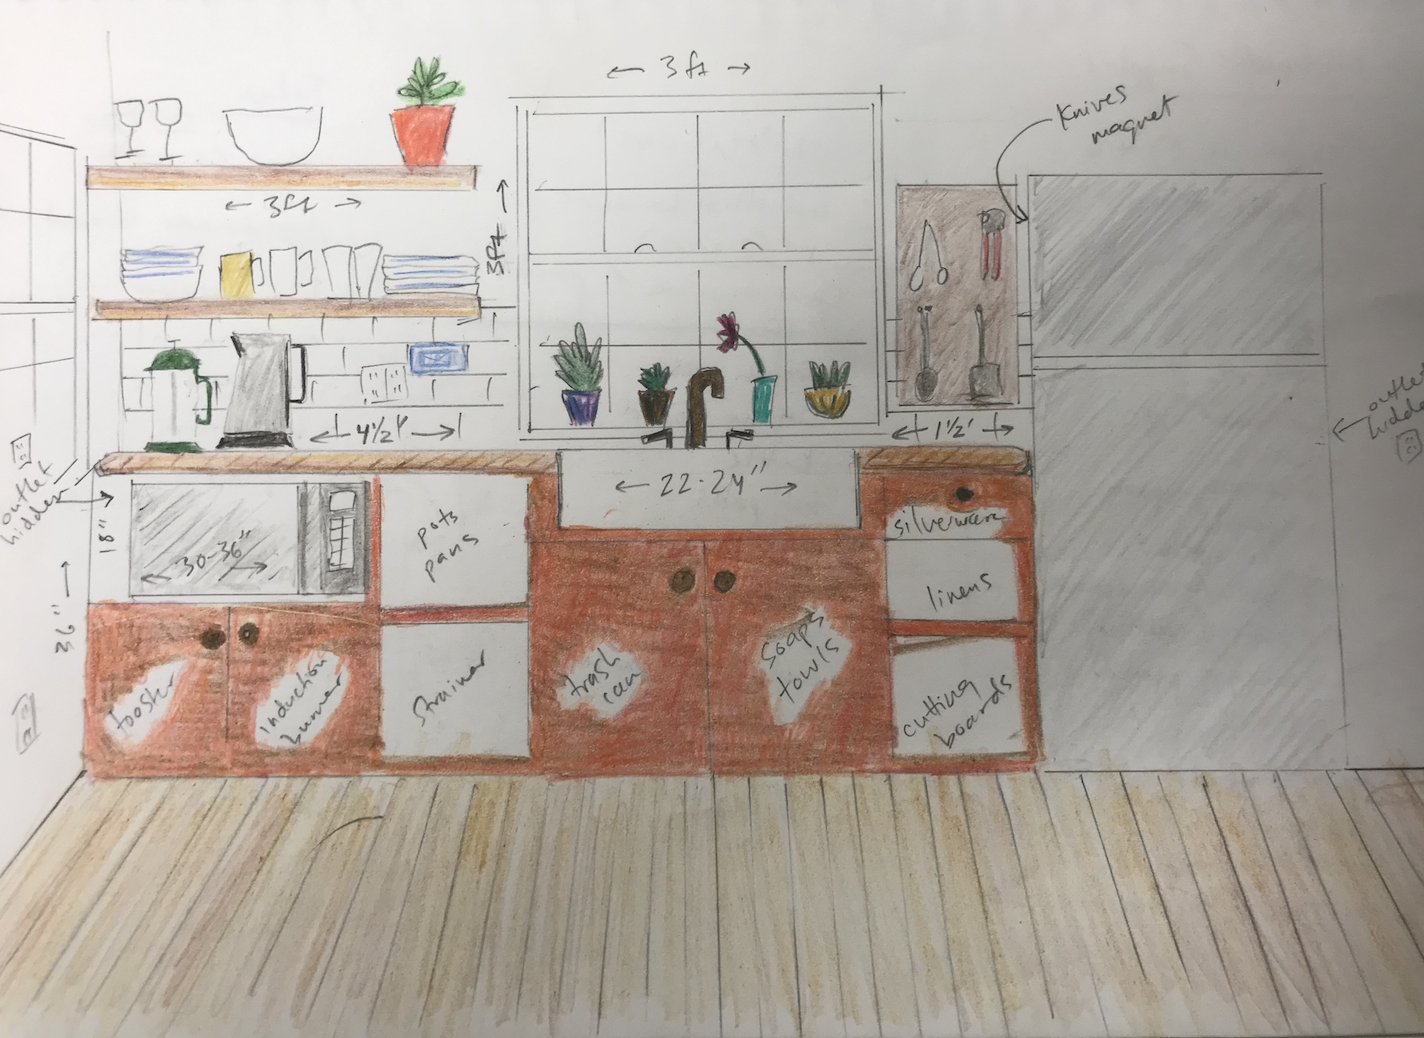
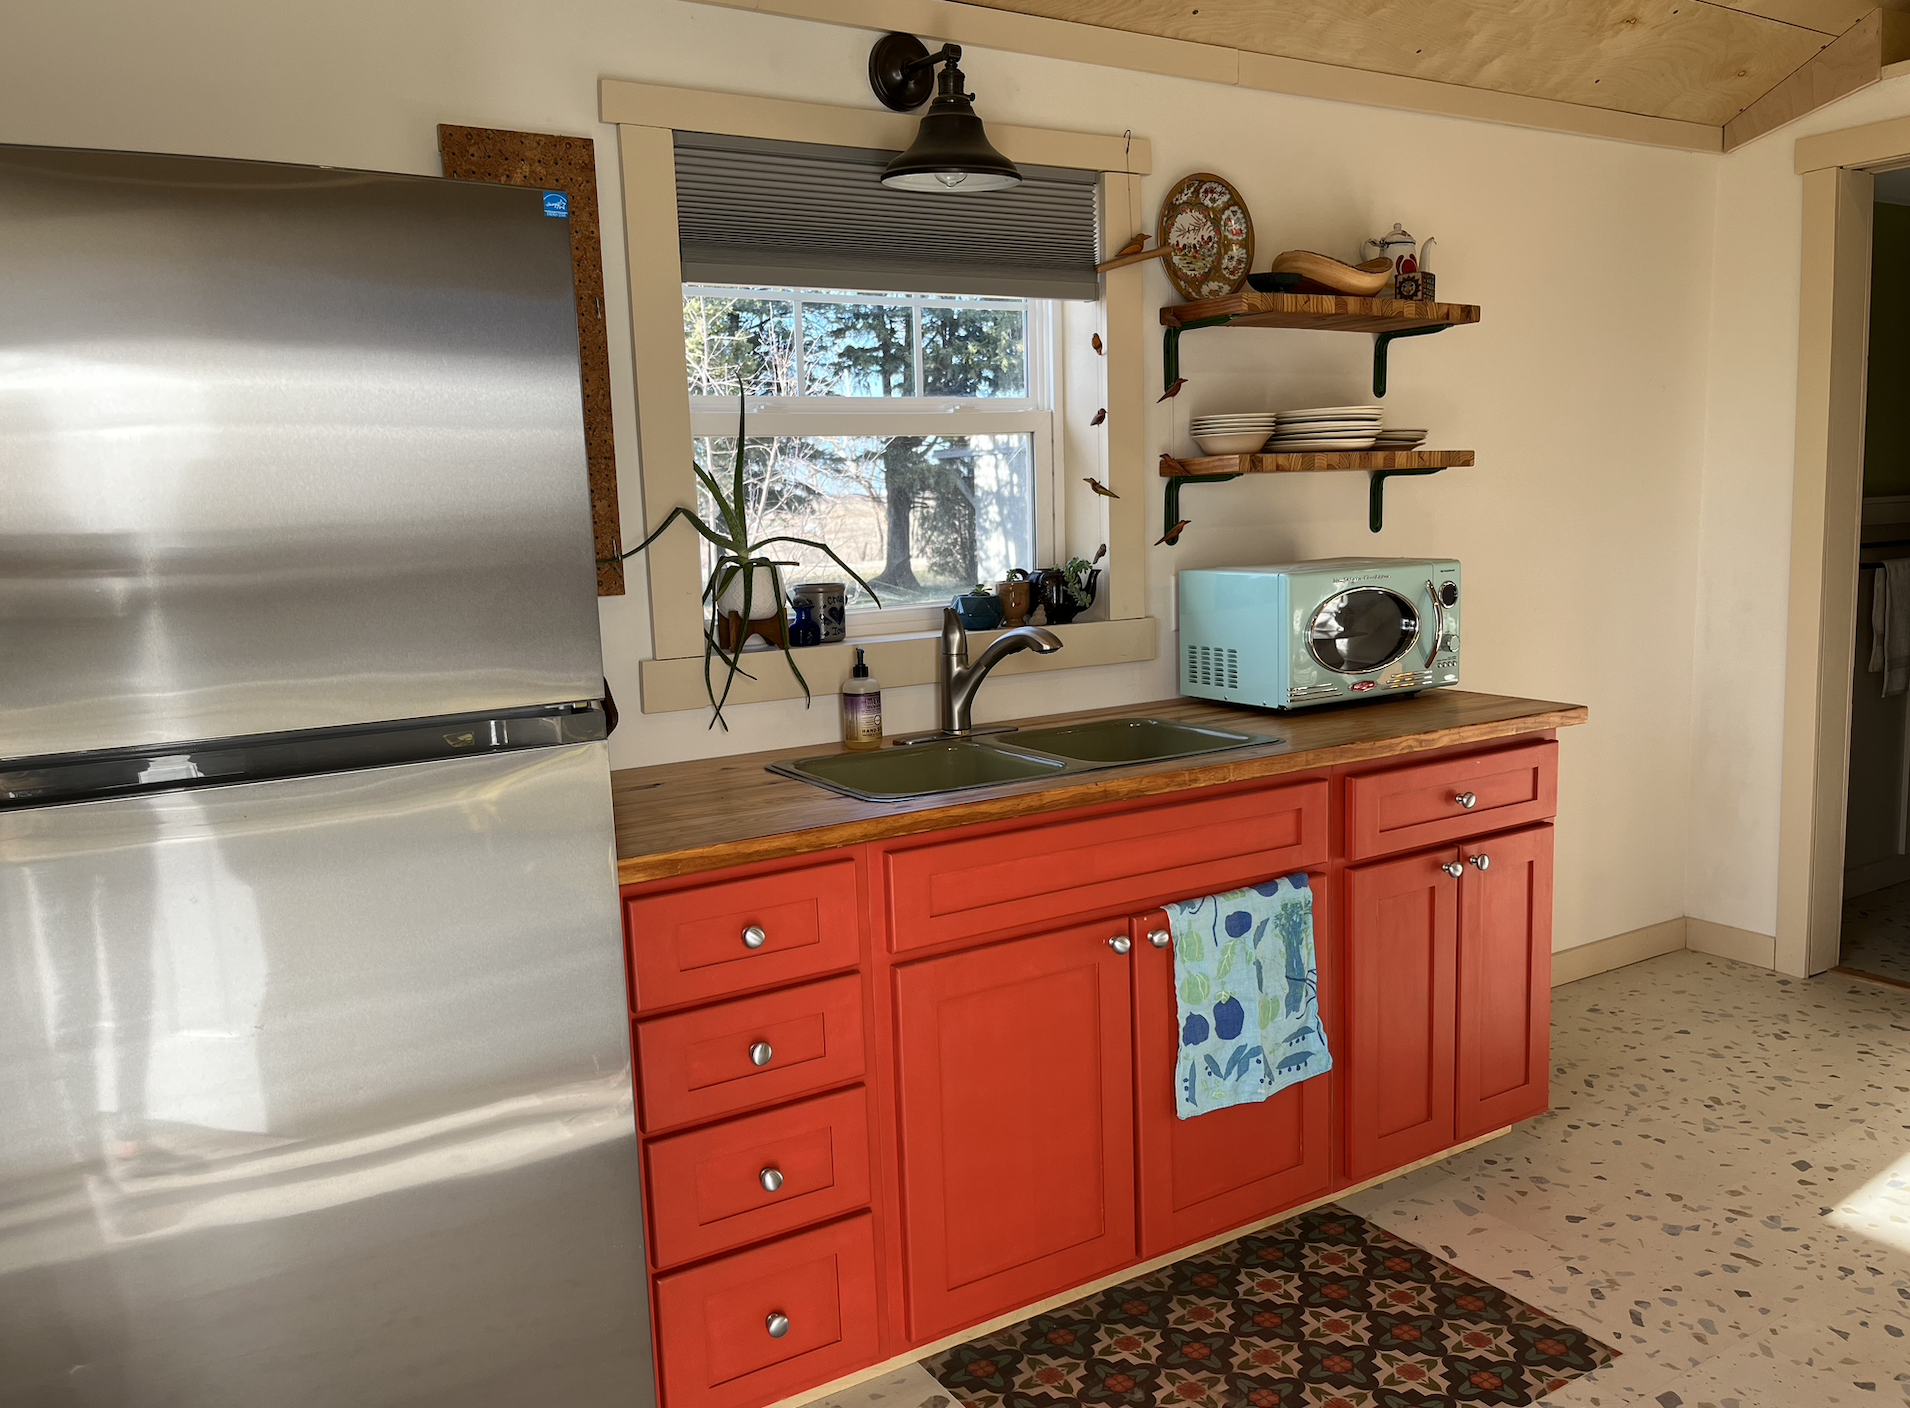
During this time we also started to work on the cabinet for the kitchenette and the floors. We got lucky that during the holiday we mentioned the challenge we were finding in locating a quality, used cabinet that fit the dimensions we were looking for. Adam’s sister-in-law, Kennidee, said her parents were redoing their kitchen and had some pieces for sale. When we contacted them we happily found a section of cabinets (handmade by the Amish) that worked perfectly. Flannery painted them the same Hearty Orange color as the public bathroom. For the countertop we discovered a used, real butcher block in Albert Lea, MN for only $50. Adam cut it to size and removed the wood for setting the kitchen sink. For the kitchen sink, Flannery had found on FB Marketplace a used 1970s avocado green sink in Rochester, MN.
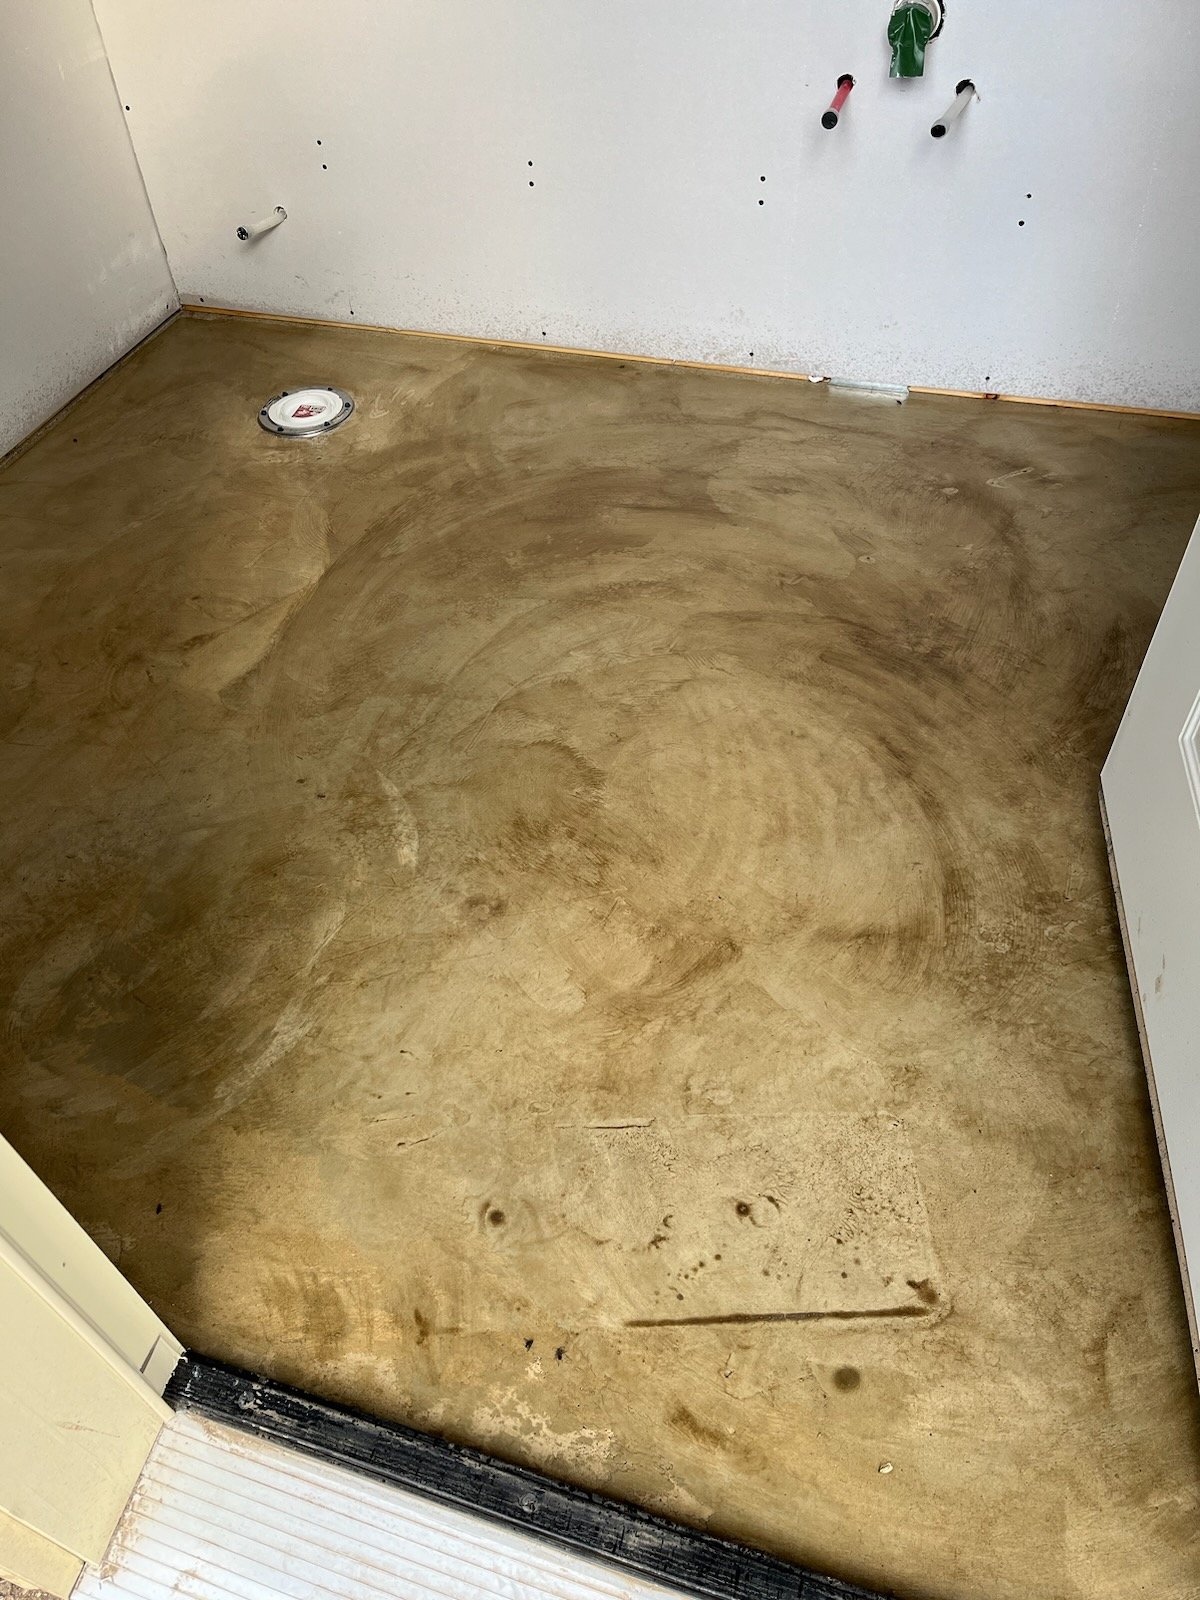
The floor proved to be a bigger challenge than we bargained for. We originally had envisioned a stone=looking floor. With radiant heating we knew we couldn’t install ceramic tiles so we planned on doing an acid-stain and sealer over the new cement. After talking with some friends and doing a lot of thinking we finally pulled the trigger on a contractor to do the work and ended up being completely heart-broken and in tears over the final product. The project looked awful, bringing out every imperfection and turning the cement from gray to poop-brown. We were now back to square one and realized we would have to do a vinyl plank, floating floor which we originally had not wanted to do.
After hours once more of searching and debating we finally settled on a terrazzo plank floor from Alure. We went with this look rather than a wood or stone floor that looked “fake”. Living in a home that is all original wood flooring, it is hard to not judge a vinyl wood floor that doesn’t look like wood at all. We ended up being really happy with this floor, which all arrived safely without any broken tiles. With this we had enough left over (10%) that we decided to carry the floor all the way into the private bathroom. For the public bathroom we went with a different, sturdier floor that was marketed for garages. This tile ended up working fine but the shipping was terrible. We had so many tiles show up broken that we complained and got another free box that allowed us to finish the project there.
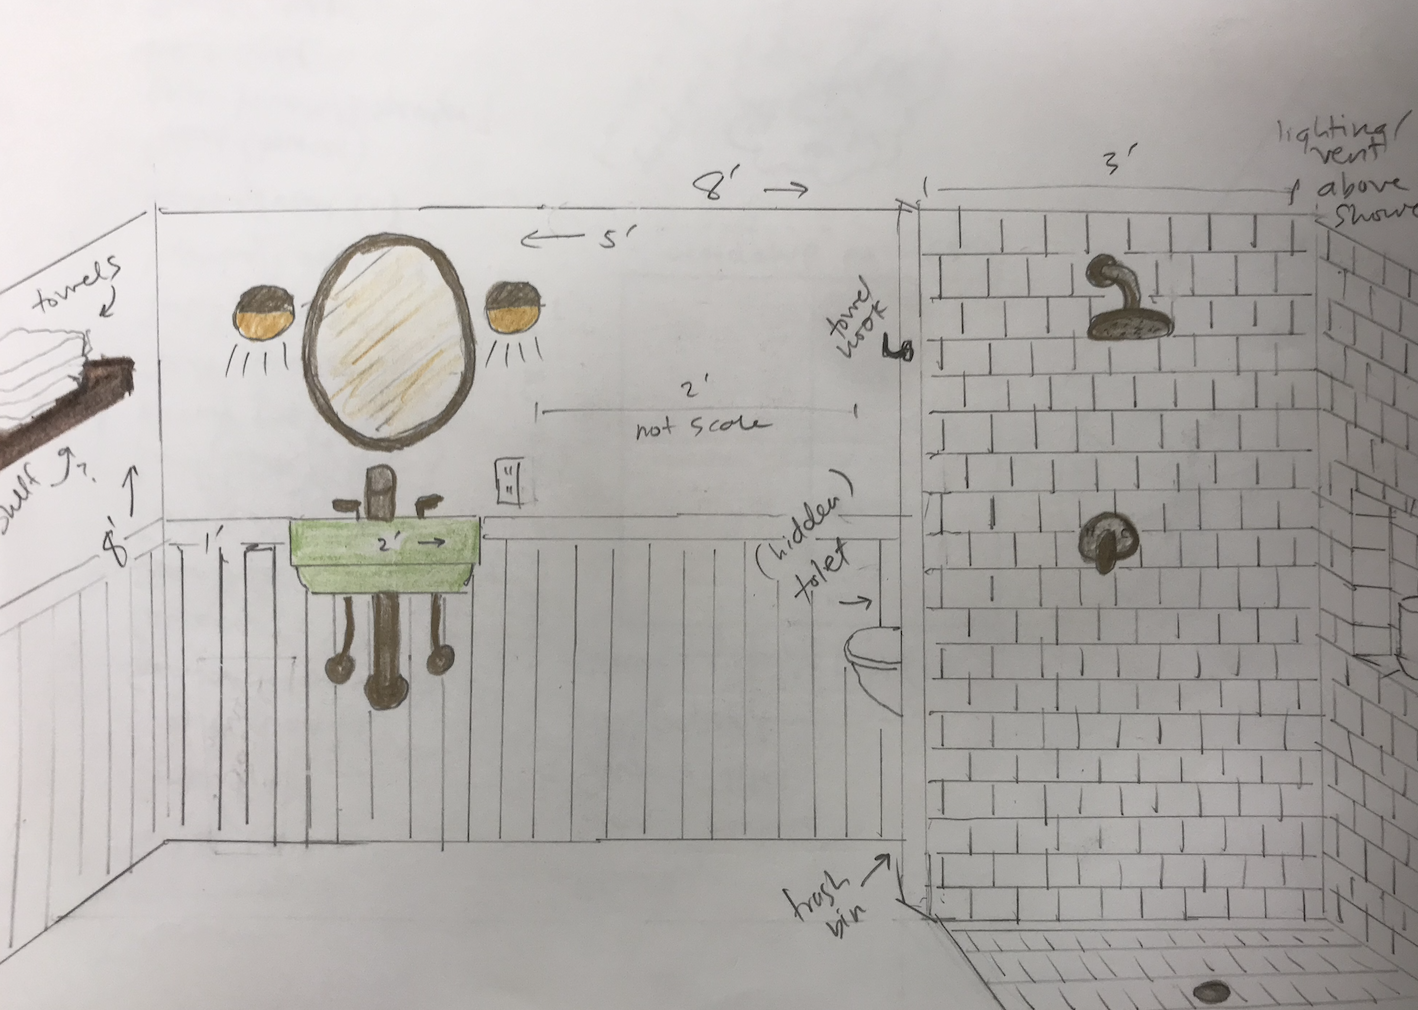
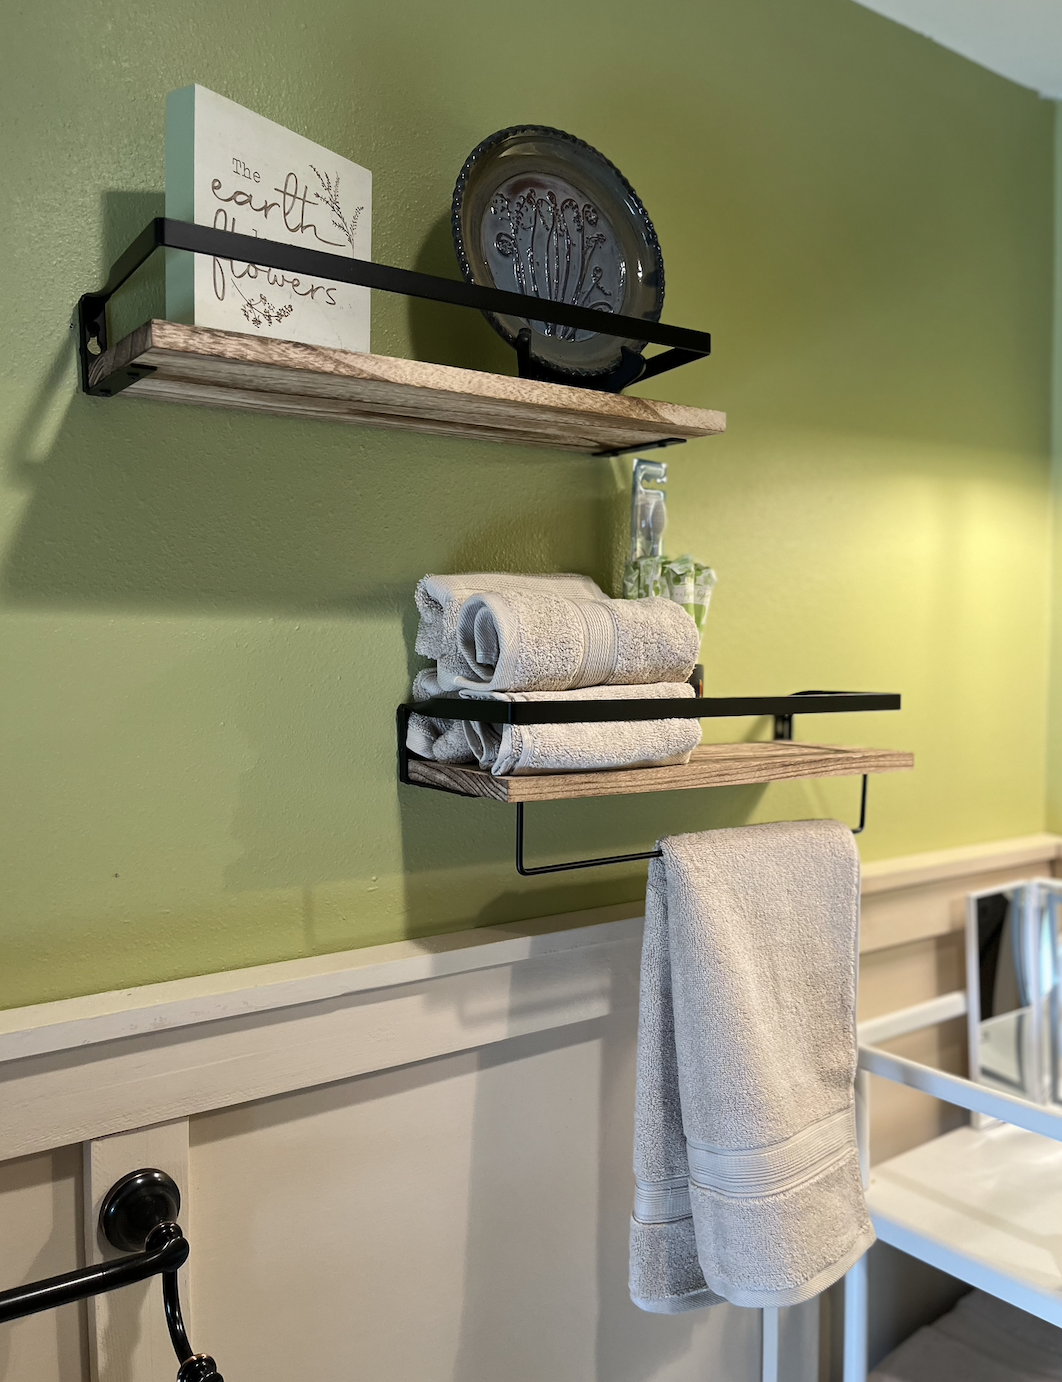
With the floor, cabinet, painting, carpeting, and trim all complete we were now ready to do the sinks and shower. For the sinks Flannery had found two, one green and one white, vintage sinks on FB Marketplace. The green sink we picked up for $20 in Wisconsin on our way back from Duluth in June. The owners had removed it from their home and were currently using it as “bear bait”. Whatever that means? Adam installed the sinks and used steel piping for the leg supports. He used the same piping for the ladder and railing in the loft.
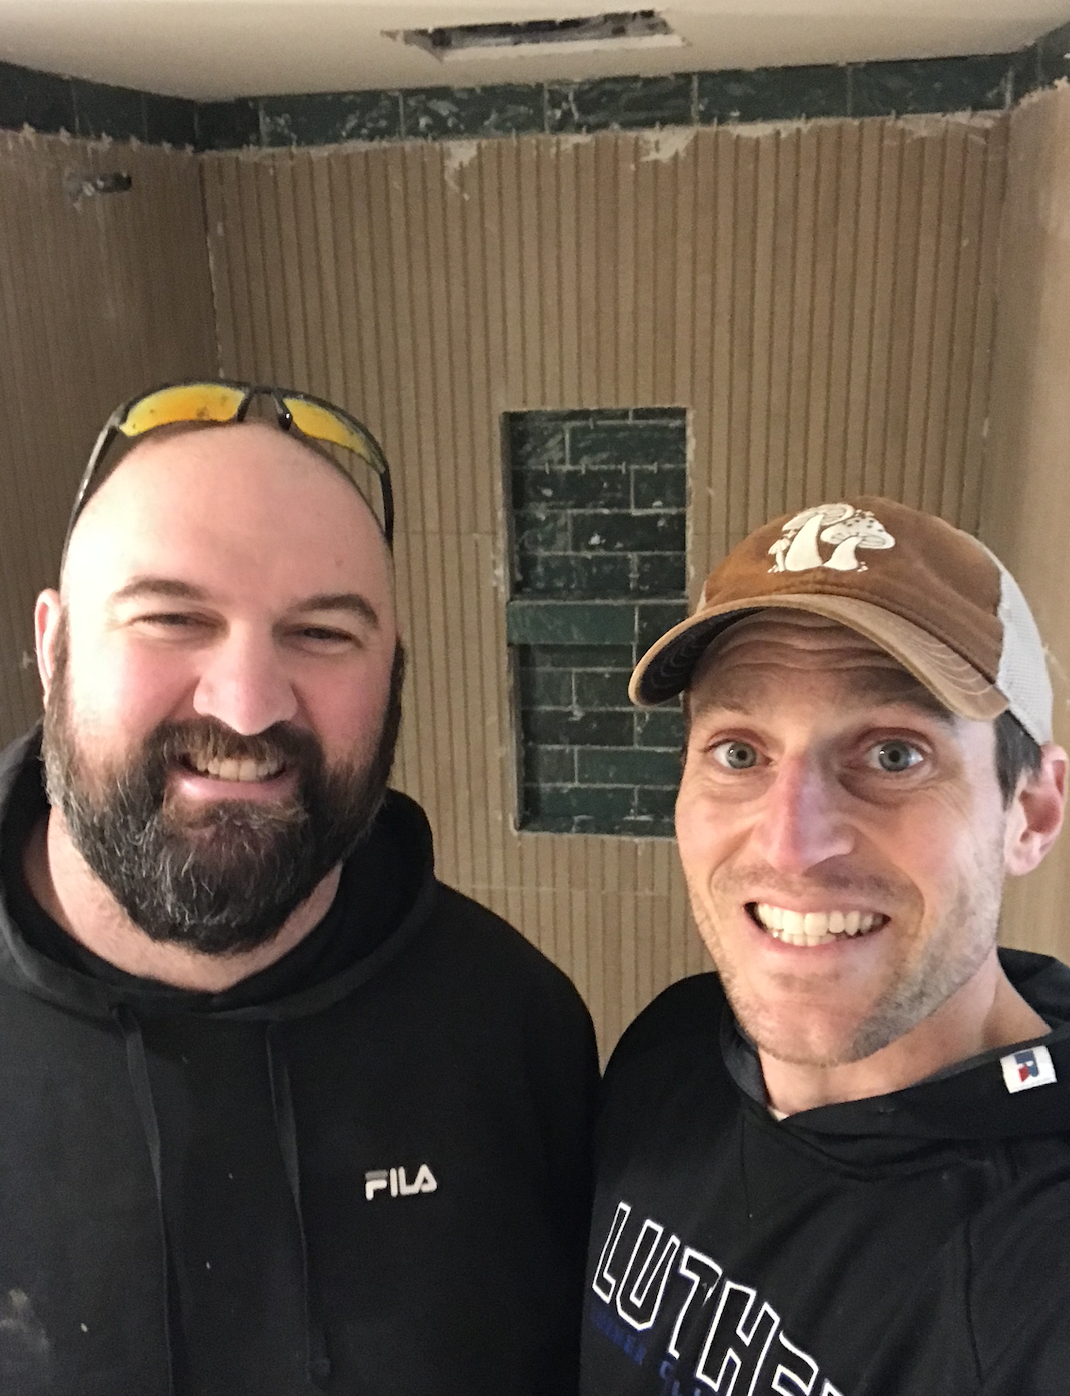
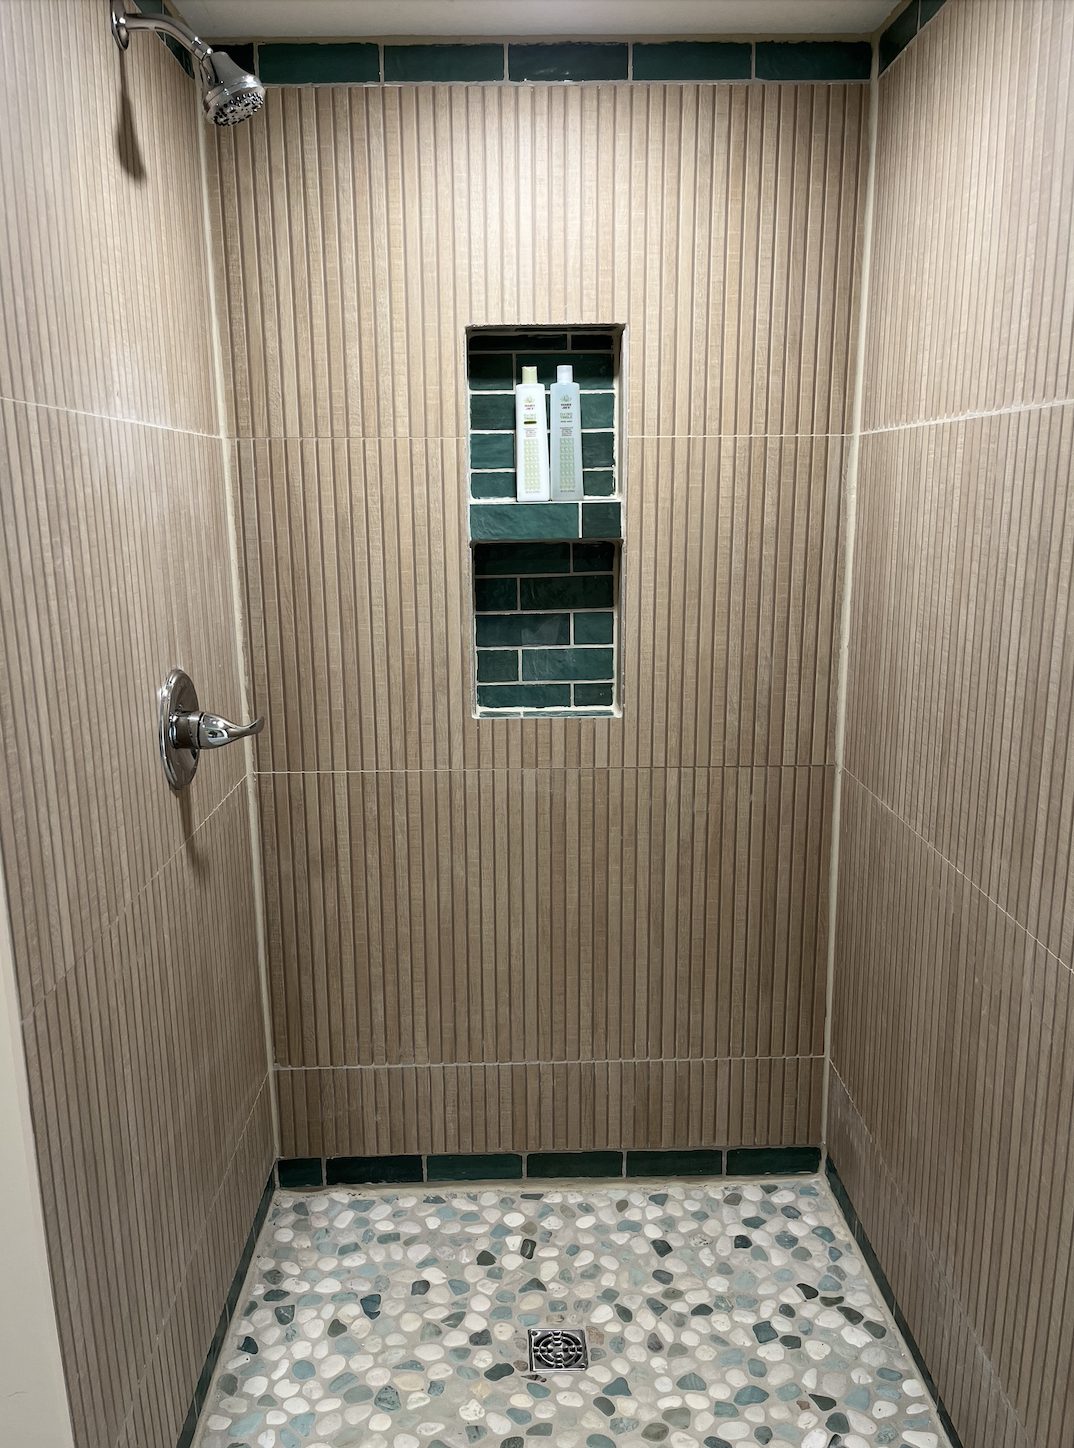
With most major projects now finished, the last hurdle was the shower. This was the last thing and Adam had been fearing it all along. The tile Flannery chose were porcelain sheets, 3/4” thick and 2x4’ large, from Home Depot. For the niche she had selected a green subway tile from Wayfair. Adam had never done any tiling before and these tiles were very intimidating to work with. With such large sheets there was no room for error and a wet saw would not work. Adam reached out to his good friend and handyman Erik Miller.
Adam and Erik had lived together for 2 years in Clinton, Iowa when both started their teaching careers in the same school district. Erik was never afraid to learn and take on a project. Having been blessed with common sense he had taught himself how to tile showers, having done at least four of them over the last 10 years. He happily agreed to come up over a long weekend in February to assist. Fortunately we had a record warm winter and the weather cooperated for working and cutting tile outside.
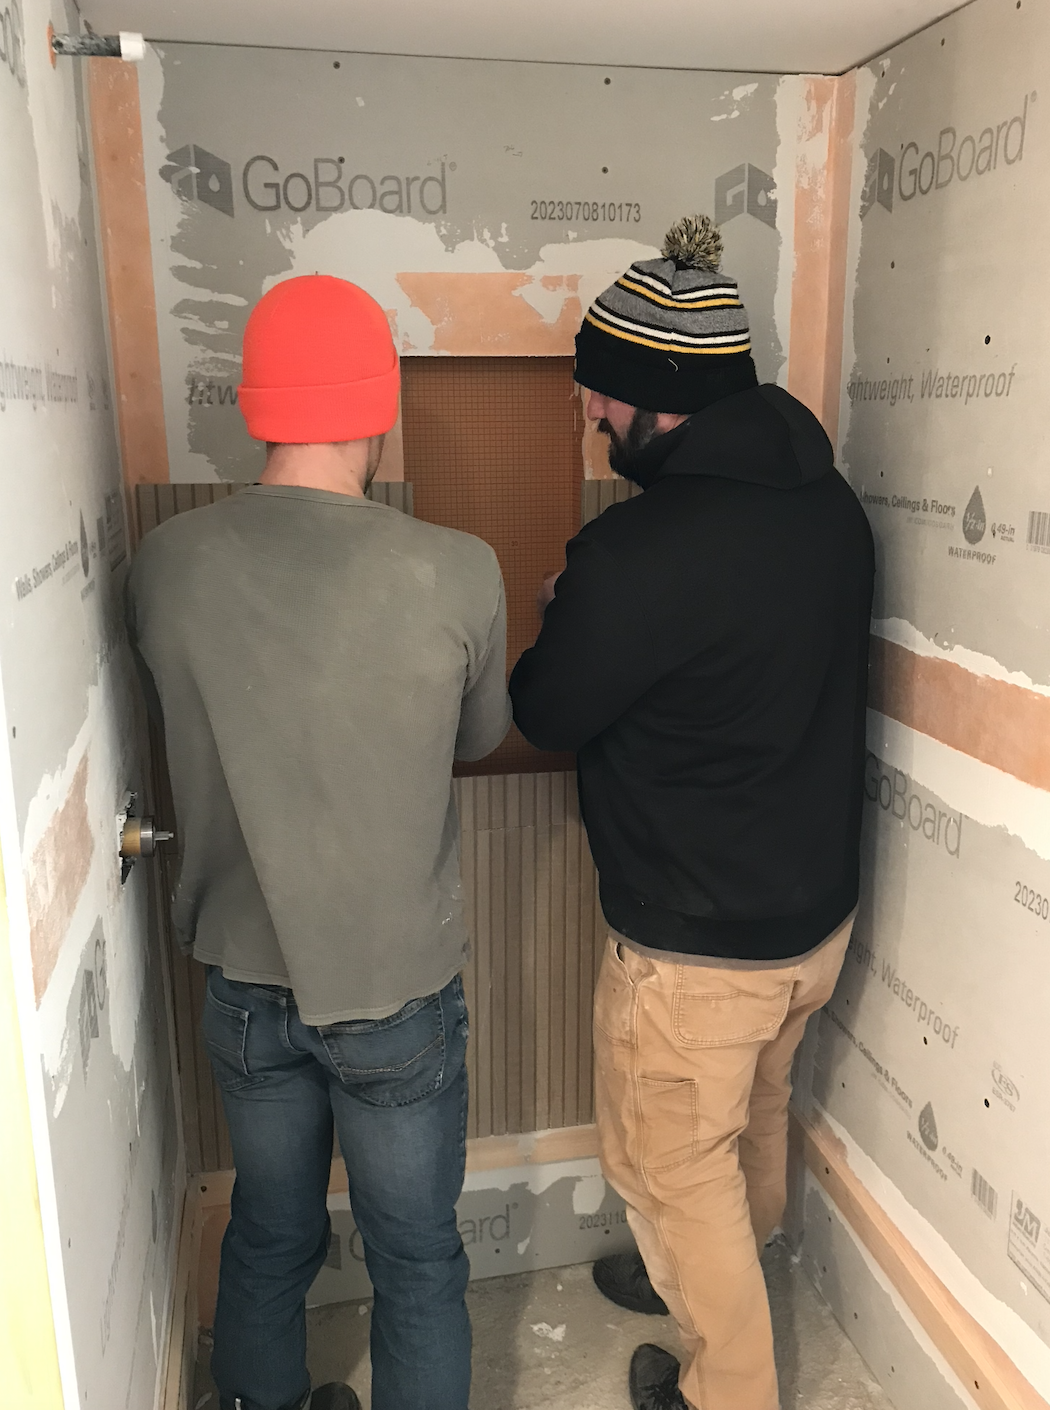
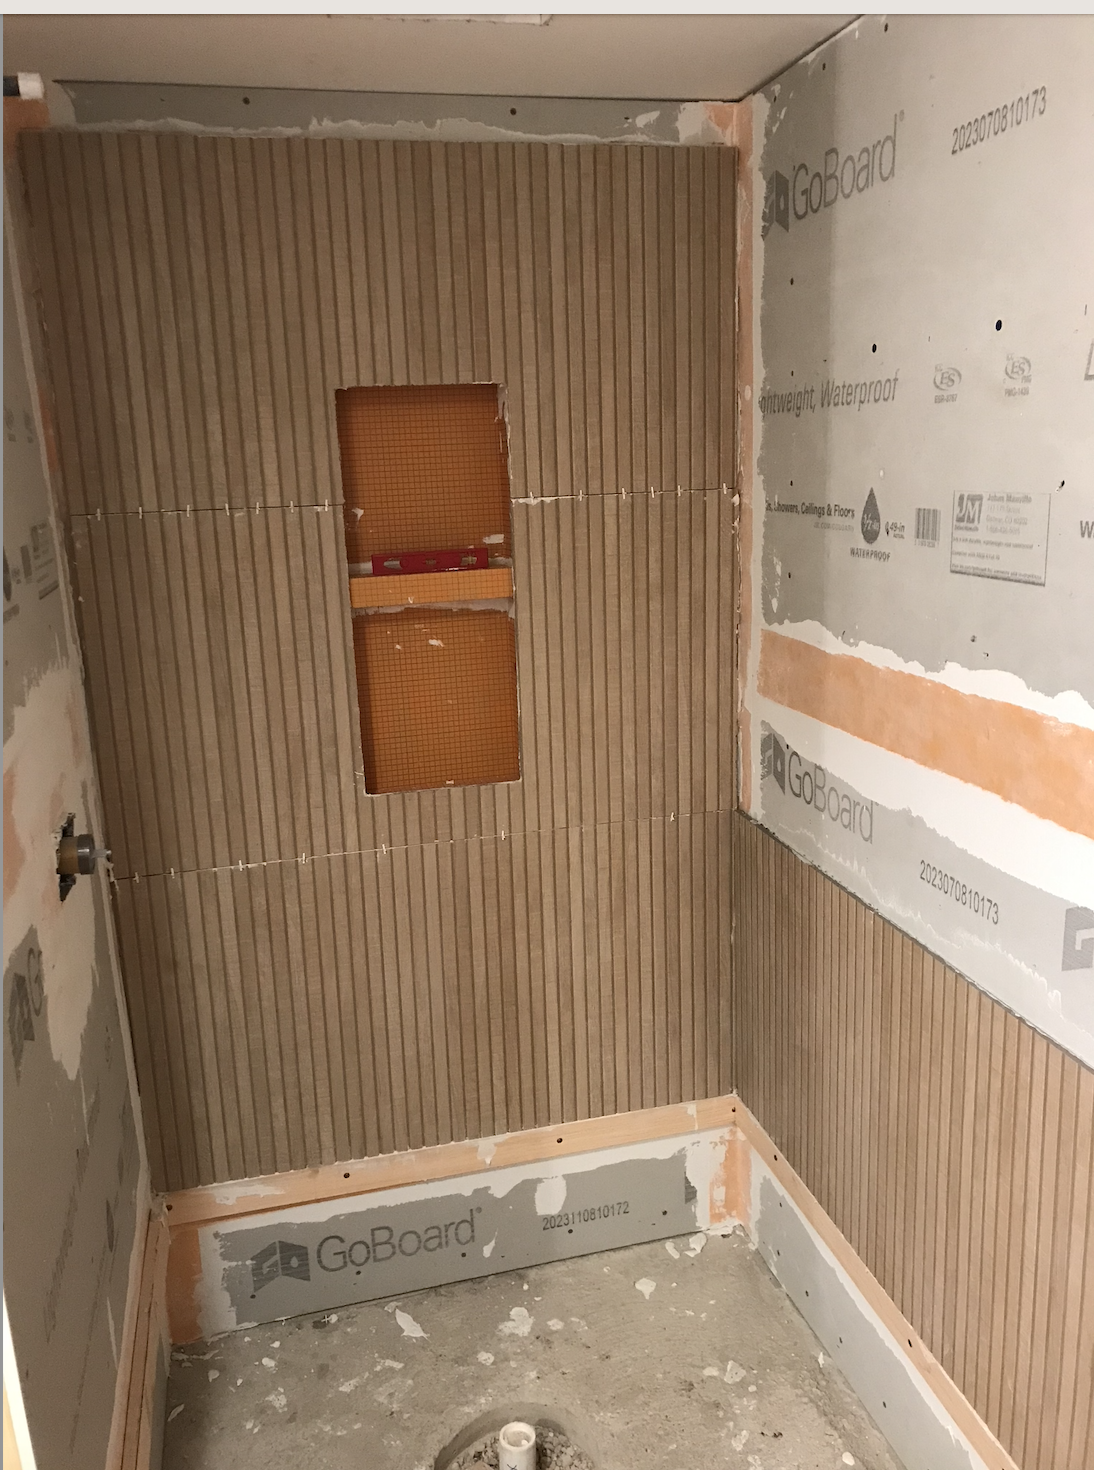
With his guidance over the phone, Erik told Adam what he needed to buy to prep the work and make sure it was waterproof before tiling. On his own, Adam finished framing the walls of the shower to ensure they were all level. He then installed a waterproof, foam backer board called GoBoard from Menards. Using backer board screws he installed these first. Using Schluter-Kerdi products from Home Depot, Adam also installed the niche, taped all the seams using thinset mortar and custom cut the floor pan, which tapered down to a center drain.
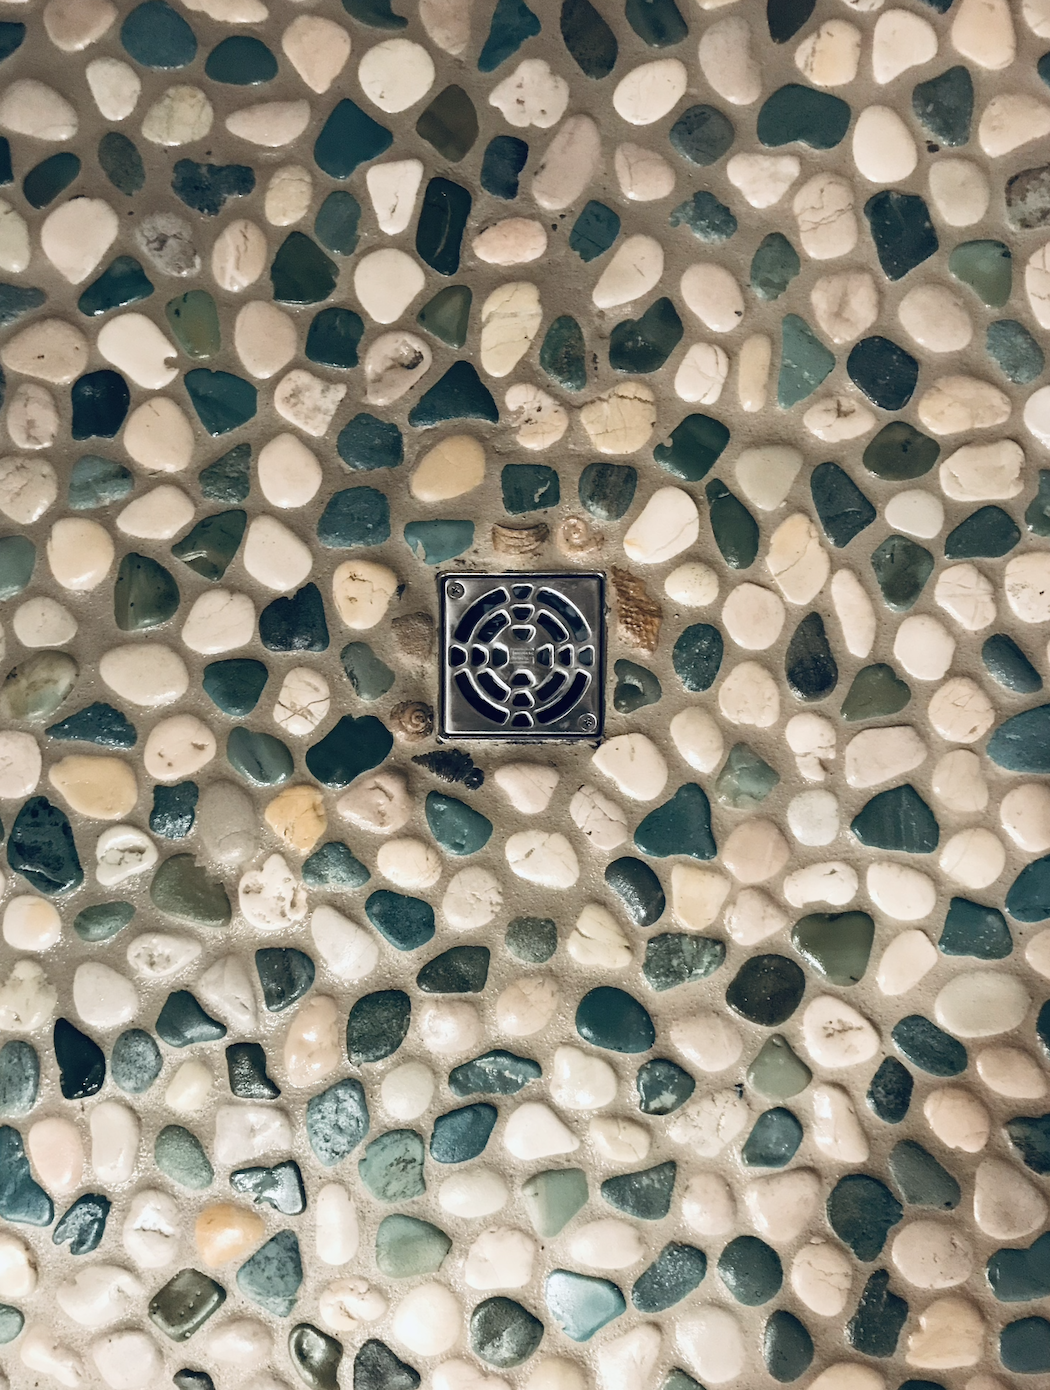
The weekend Erik came up with this family, he and Adam installed most of the large brown ceramic tiles, the stone floor and the green subway tiles for the top border and niche. The bottom pieces they cut but would have to wait until a later time when Adam would finish it himself. A week or two later Adam finished grouting the floor, then installed the bottom border of subway tile, then the last few pieces of ceramic tile and finally finished it off with grout and caulk. Once finished, Adam installed the Delta shower fixture and trim and it was done.
One last major hurdle was the construction of the Murphy Bed. To save on money we purchased a Murphy Bed kit from Amazon ($250) that included all the metal hardware, pistons and detailed instructions on how to cut the wood. Adam carefully cut all the wood pieces and started to assemble. The process was rather easy as long as you read everything five times and measured five times. Thankfully, with the attention to detail in cutting the pieces went together with little difficulty and the bed was finished. The reason we decided to use a Murphy Bed was to alternatively use the space for massages or a private, climate controlled space for a bride or groom to use on a wedding day.
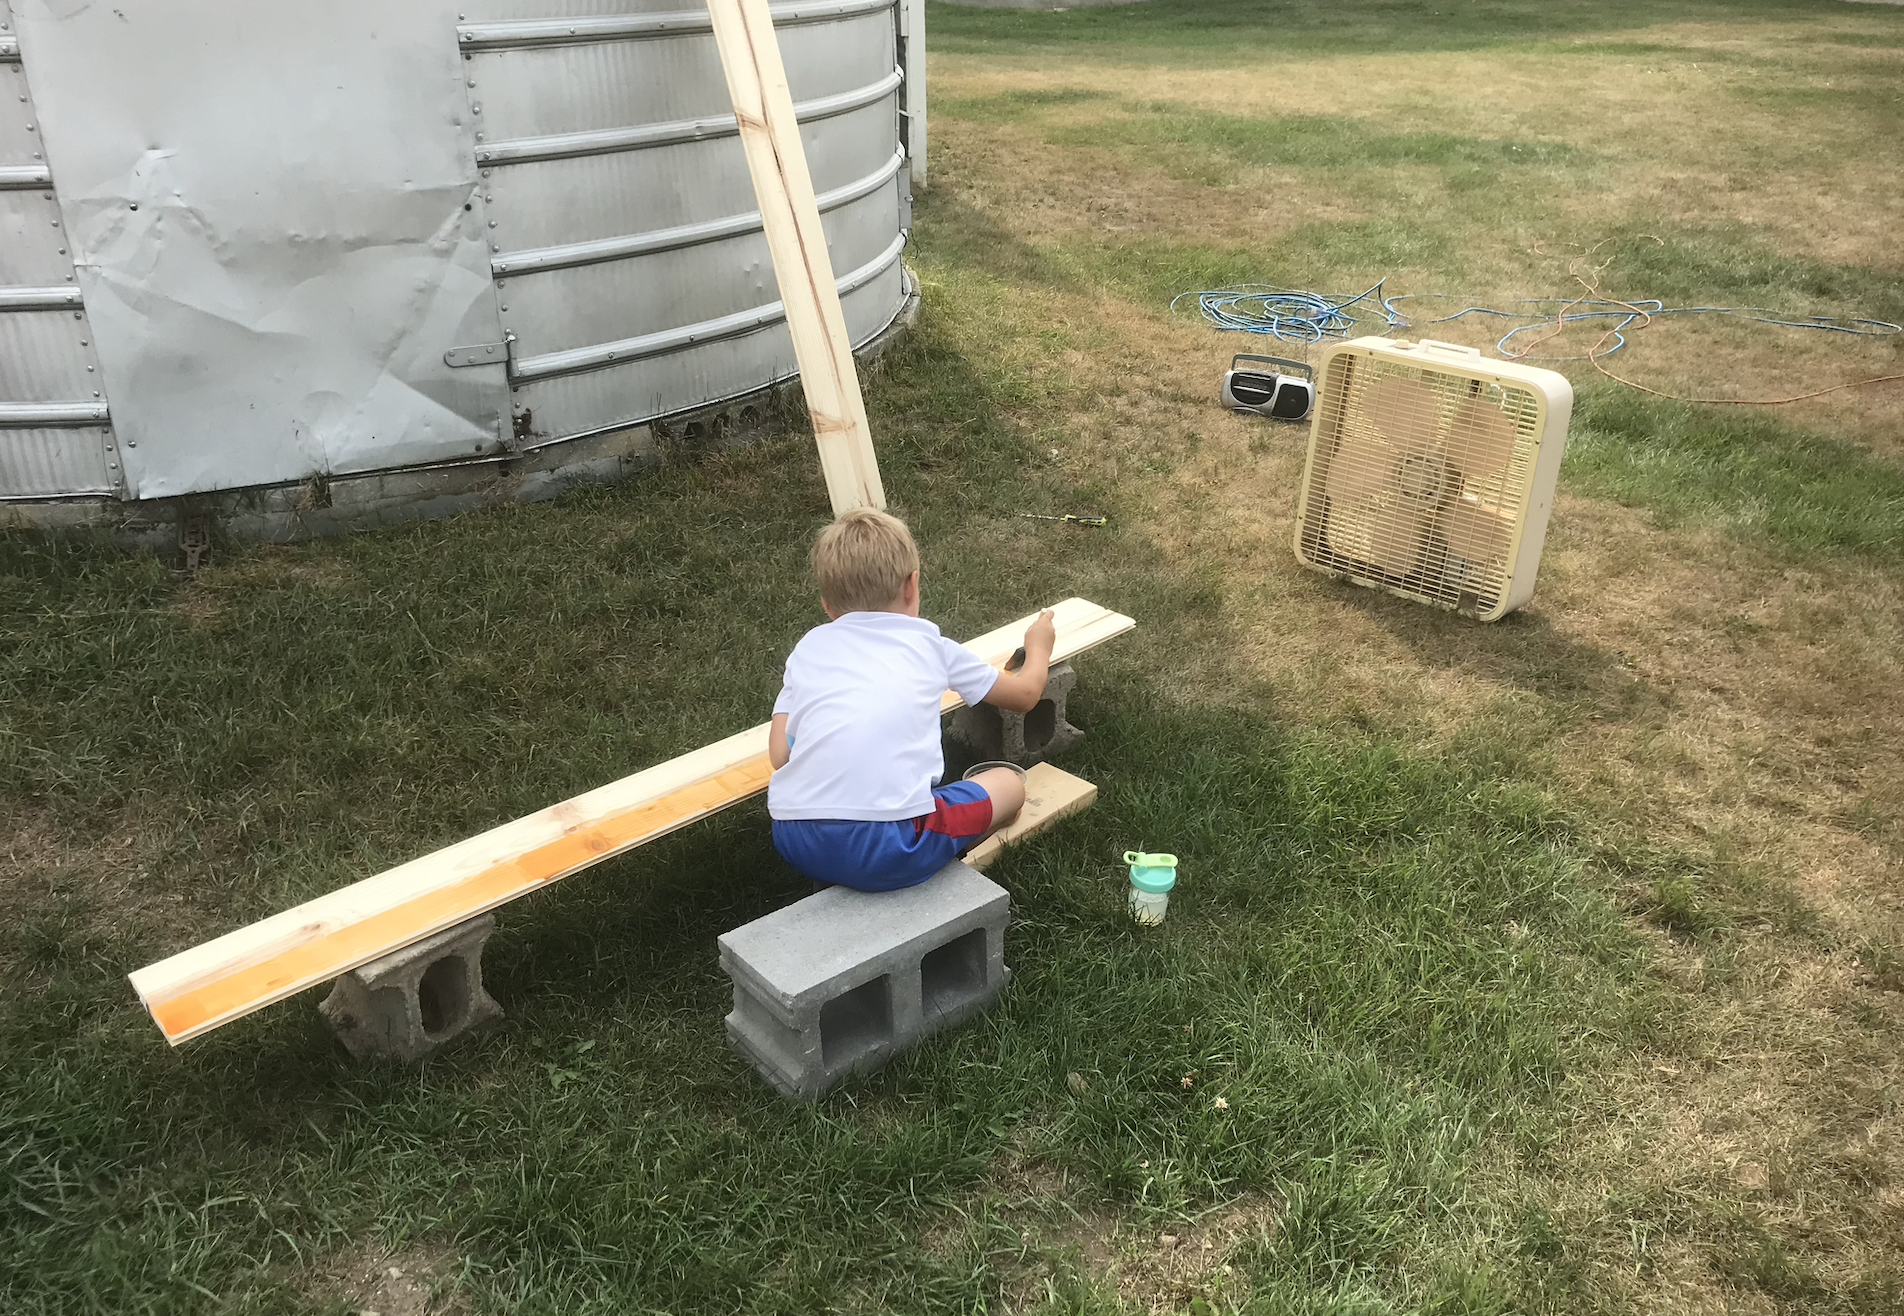
With the exterior work finished, there still remained some work on the outside, particularly the 8x10” porch overhang. To finish this area off we installed cedar (1x8”) boards around the beams and stained car siding and bead board for the ceiling and soffits.
From the time it took to get our first estimate until completion, this project took about one year to complete. The transformation is astounding. When we slept in the guest house a few weeks ago to try it out for the first time, we both stared up at the ceiling, amazed that we had once parked our cars in here and we had done most of the work ourselves.
